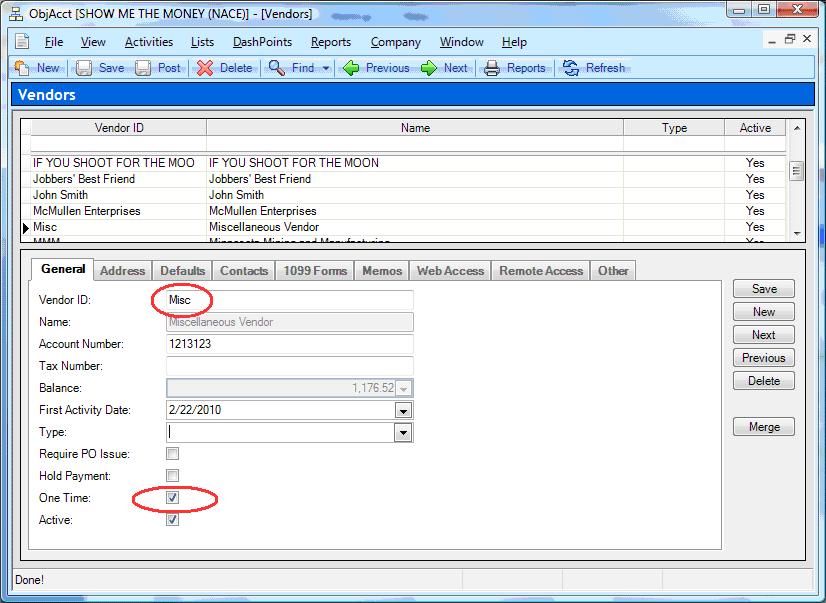
4. Miscellaneous One Time Vendor
Setup a miscellaneous one time vendor by following all the regular vendor setup steps and select the One Time box found on the General section of the vendor maintenance record.
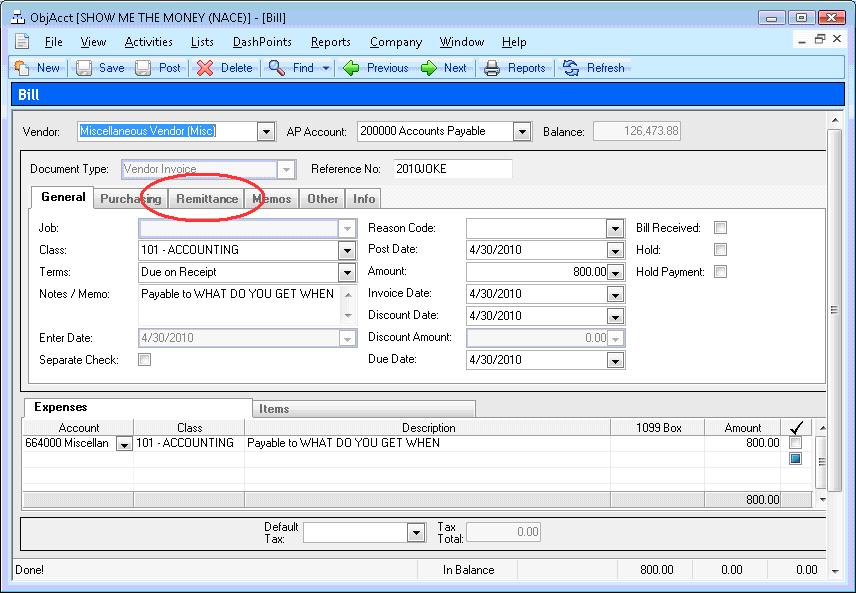
On the Bill screen follow the regular enter bill steps and then click on the Remittance Section.
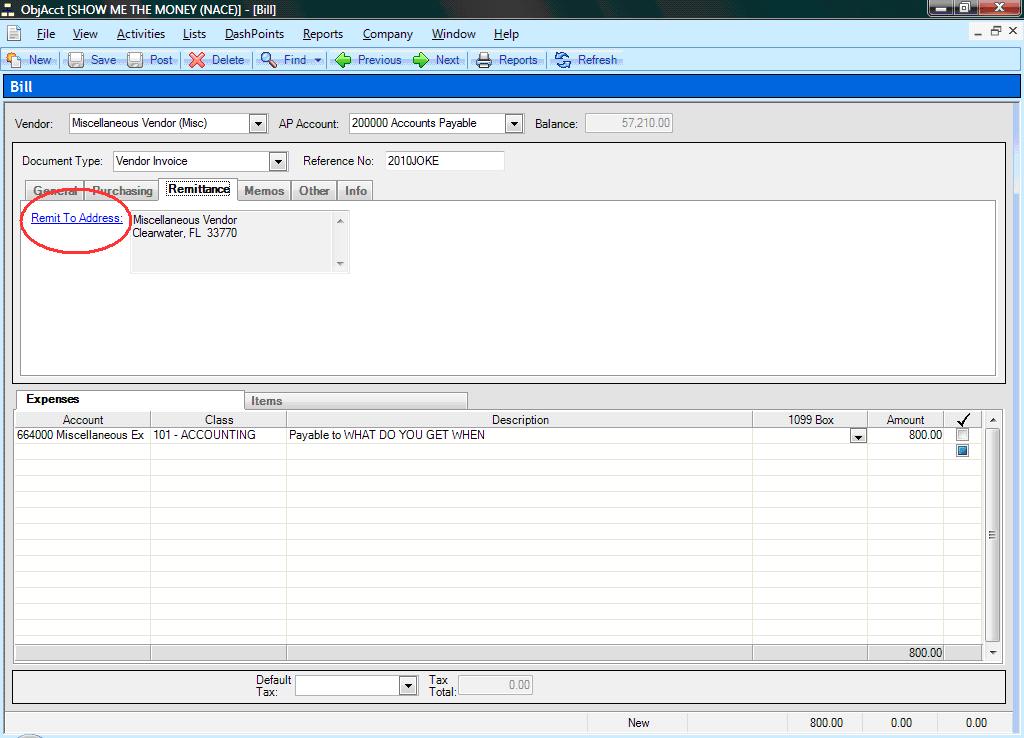
Click on Remit To Address.
Click on Edit Address.
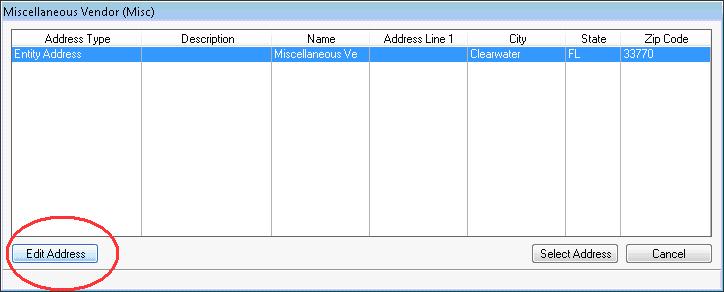
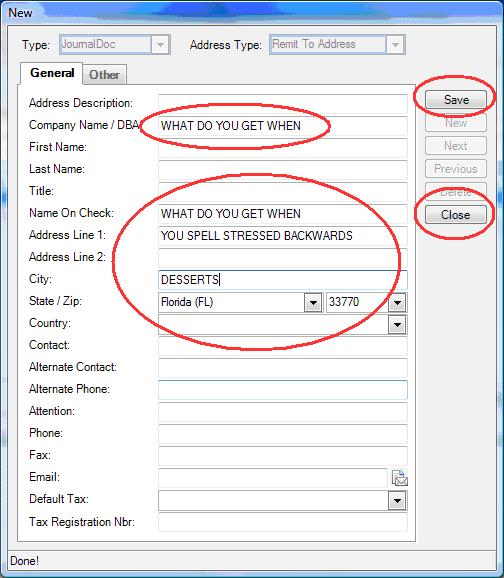
Enter the one time vendor information on the Company / DBA field, Name on Check field and enter corresponding address and click on Save and then Close.
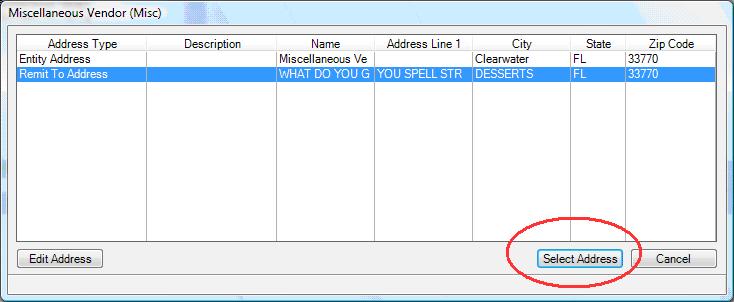
A Remit To Address will be highlighted. Click on Select Address.
Click on Save or Post.
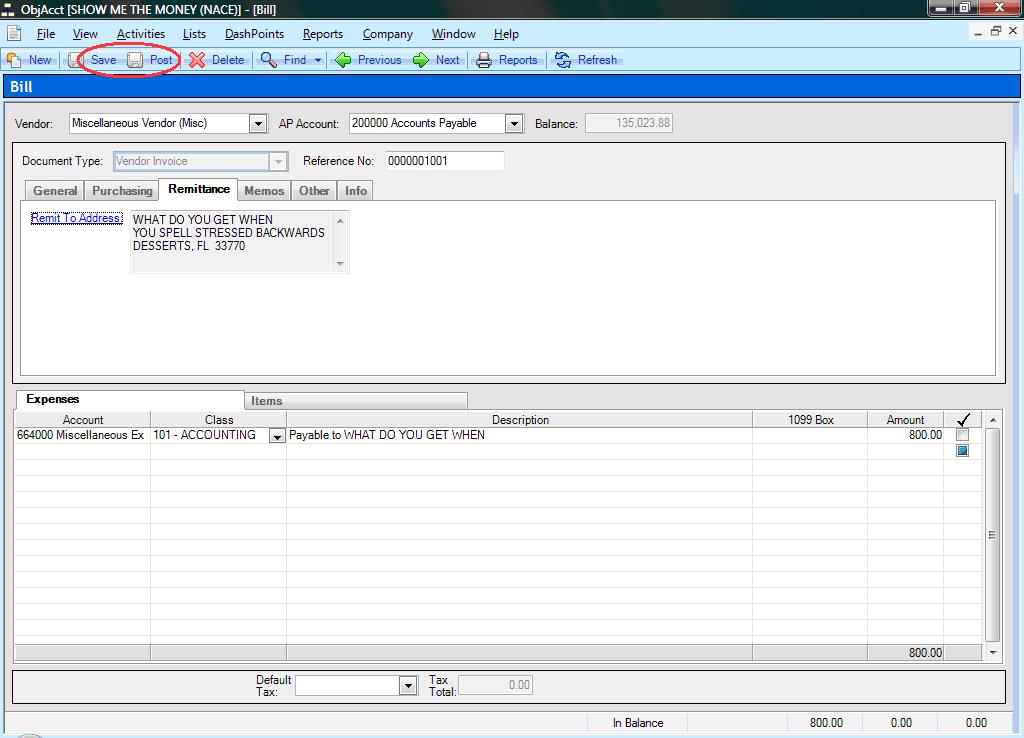
By entering the one time vendor name on the Notes / Memo field of the Bill, it will display in the Description on the Find Bill screen.
 The One Time Vendor is also available for manual checks under Activities / Cash Manager / Checks.
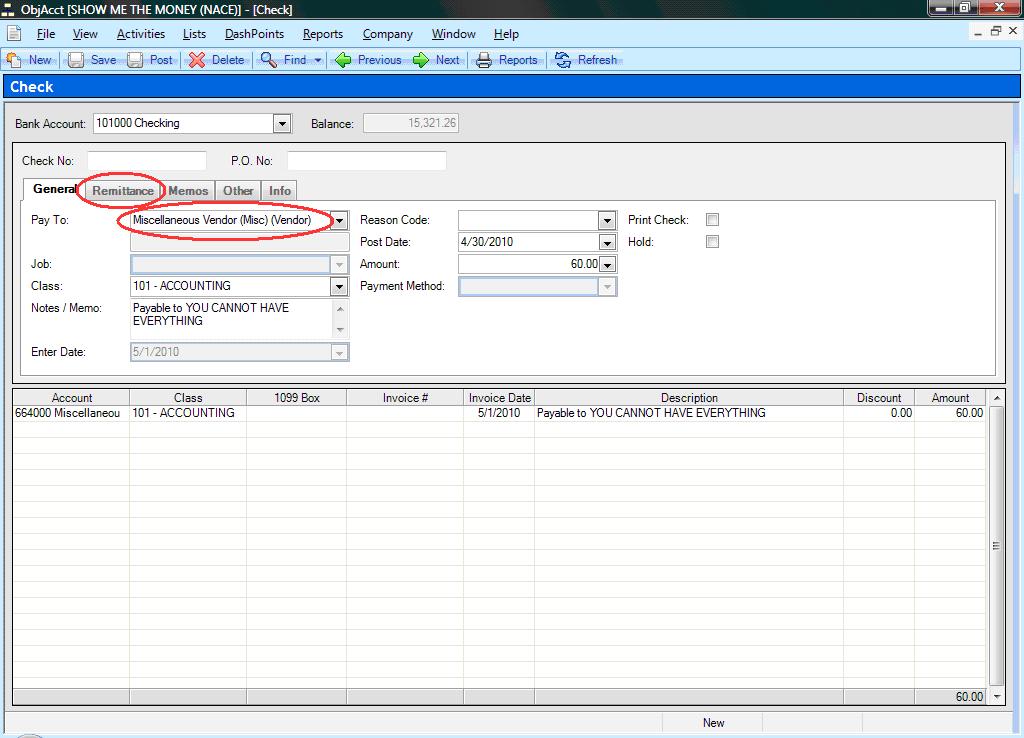
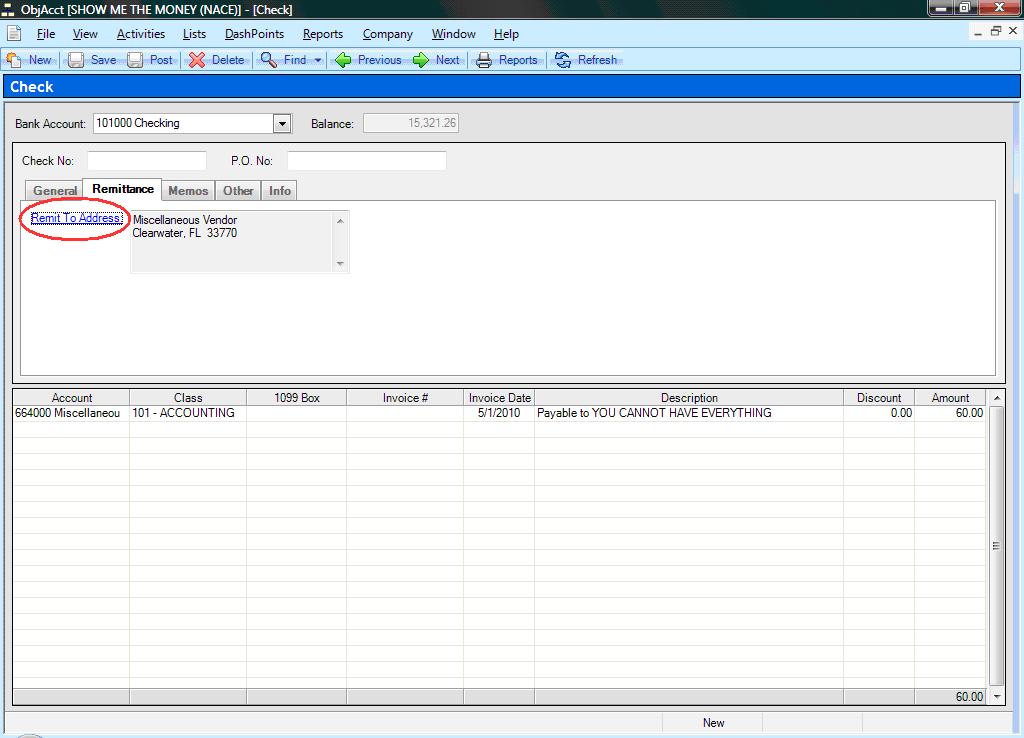
On the Check screen follow the regular enter manual check steps and then click on the Remittance Section.
Click on Remit To Address.
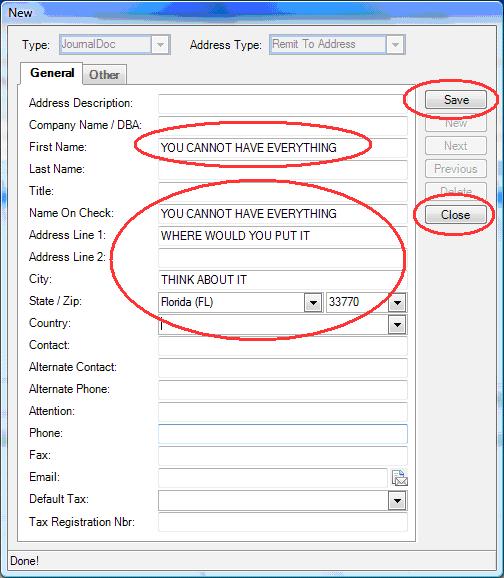
Click on Edit Address. Enter the one time vendor information on the Company / DBA field, Name on Check field and enter corresponding address
and click on Save and then Close.
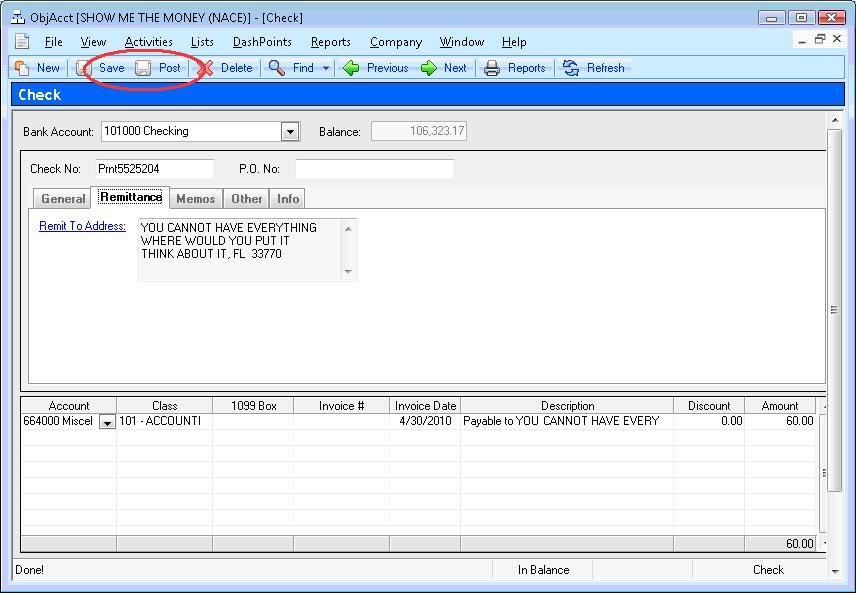
Click on Save or Post.
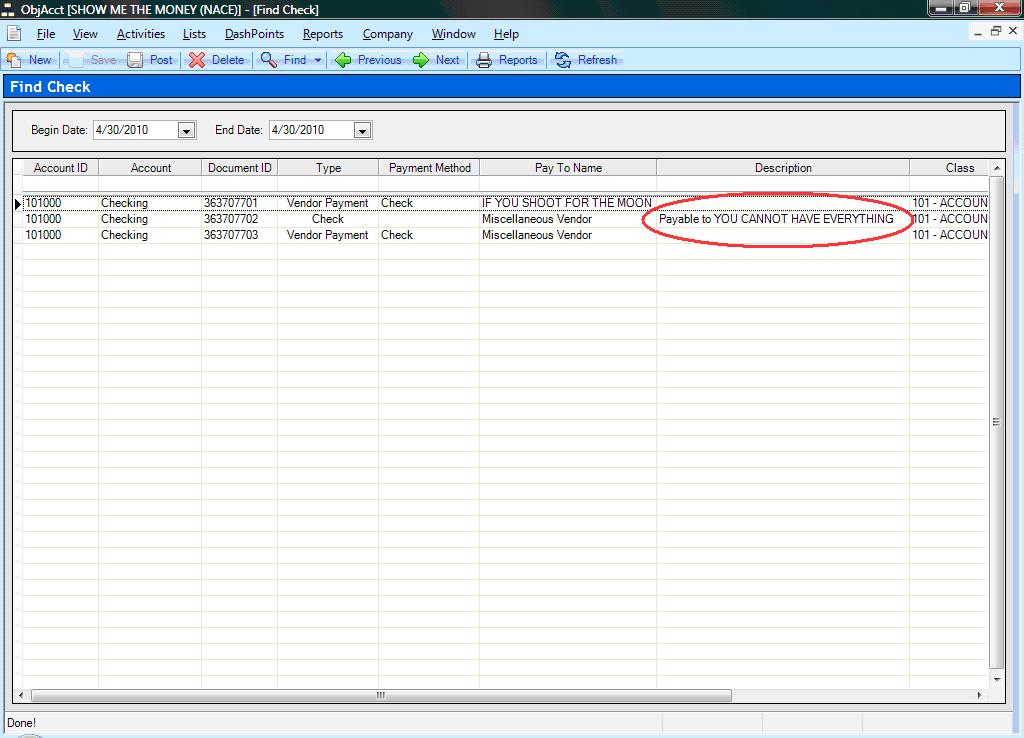
By entering the one time vendor name on the Notes / Memo field of the Check, it will display in the Description on the Find Check screen.
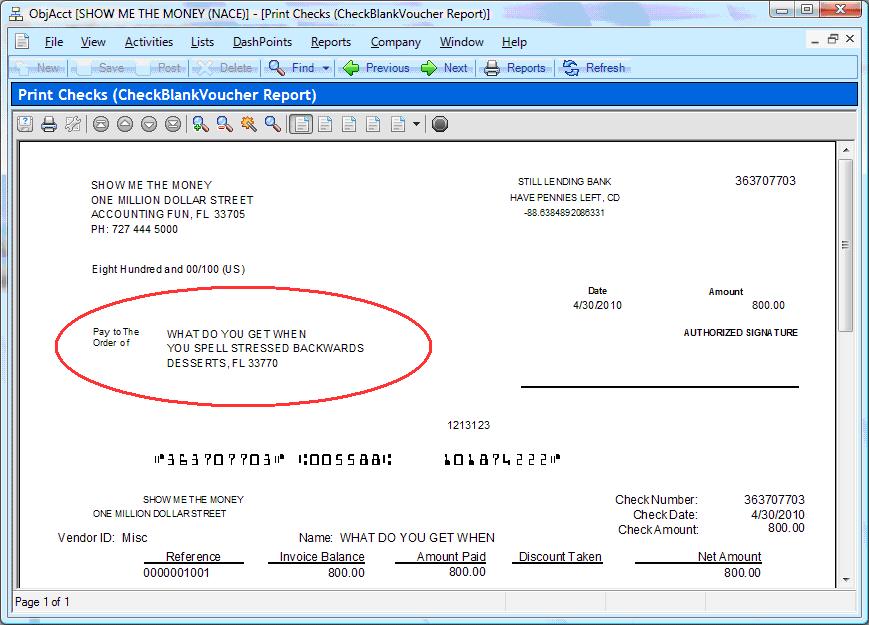
Misc One Time Vendor Bill Check
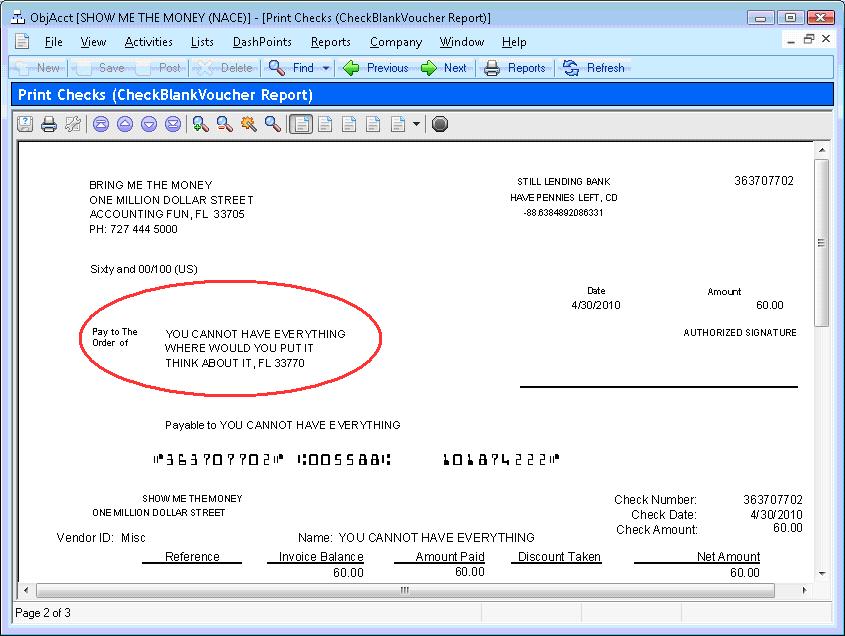
Misc One Time Vendor Manual Check
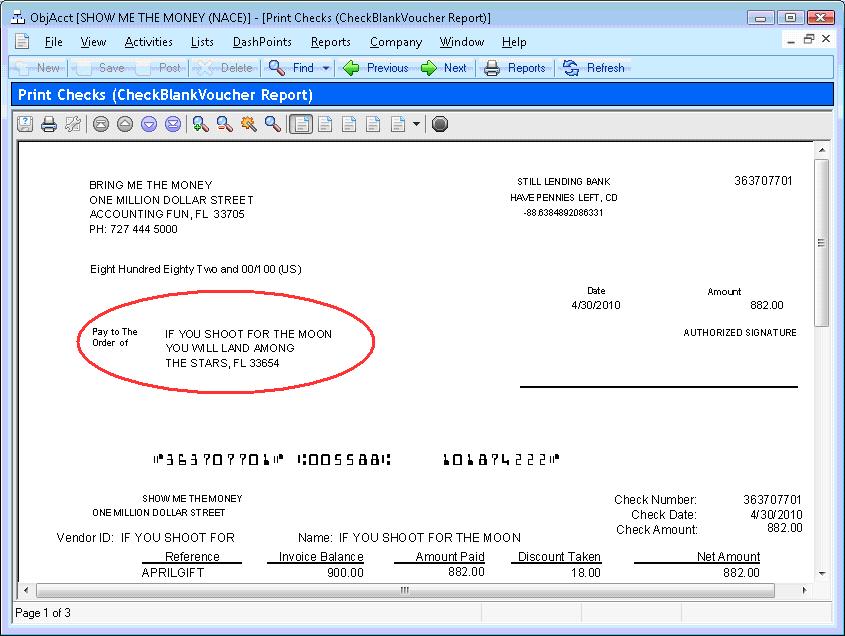
Regular Vendor Pay Bill Check
The Check Register Report will display the actual one time vendor name.
 Continue with the Documentation