Work Order Processing
This new functionality allows you to multi select customer work orders for processing in four different ways.
NOTE: The current design only allows work orders that are 100% filled to be processed into shipments and invoices.
Additional functionality will be added at a later time to handle partial shipments and invoices.
The 4 processing options
- Print Pick Slip: Generates a batch of Picking Tickets ready to be pulled, shipped and invoiced.
- Close: Will let you select work orders to close in mass.
- Ship: Will let you create 100% filled shipments based on the Work Orders Selected.
- Remove items from existing Bins
- Ship/Invoice: Will let you Ship and Invoice multiple Work Orders as 100% filled.
4 types of orders are visible on this interface:
- Point of Sale orders: These are manually created Work Orders created within the ComCept Application via the Work Order Screen.
- Mobile Orders: These are the Wireless Salesmen Orders submitted by your Sales Staff via their Cell Phones.
- Customer Inventory Orders: These are generated from Customer Countsheets.
- CollisionLinx Work Orders: These are Previously Accepted CollisionLinx Orders that were created as Work Orders.
- CollisionLinx Orders (released): This is for visibility that your customers have submitted an CollisionLinx Order that needs to be accepted through the Online Orders section of your application.
- OEM/3rd Party Orders: These are sent from manufacturers and various other 3rd parties.
You can set this screen up to automatically refresh when new orders arrive as well as flash an alert when new orders arrive.
The documentation below describes how each screen functions.
Security
Setting up User Rights for use of Work Order Processing:
The following security tags need to be added to the application user's security groups within your company that will utilize work order processing:
- WorkOrderProc: Allows access to the Work Order Processing area.
- WorkOrderProc_ChangeLoc: Allows the user to change store locations to view work orders for.
- WorkOrderProc_Close: Allows user to Close selected work orders.
- WorkOrderProc_PickSlip: Allows user to print a batch of picking tickets for selected work orders.
- WorkOrderProc_Ship: Allows user to process selected work orders as 100% filled shipments with a batch print of packing slips.
- WorkOrderProc_ShipInvoice: Allows user to process selected work orders as 100% filled invoices with a batch print of the invoices.
- WorkOrderProc_TypeMobile: Allows user to filter the display to view wireless salesman orders.
- WorkOrderProc_TypeOLReleased: Allows user to filter the display to view CollisionLinx orders that have been released by the customer.
- WorkOrderProc_TypeOrderLinxWO: Allows user to filter the display to view Accepted CollisionLinx orders that were accepted as work orders.
- WorkOrderProc_TypePOS: Allow user to filter the display to view Point of Sale generated work orders.
- WorkOrderProc_CustomerInventory: Allow user to filter the display to view Customer Inventory work orders.
Accessing the Work Order Processing screen
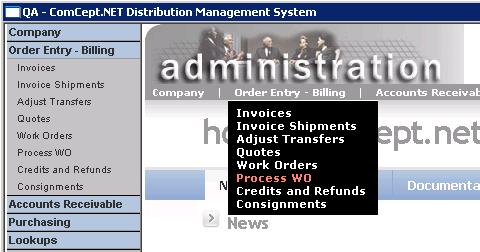
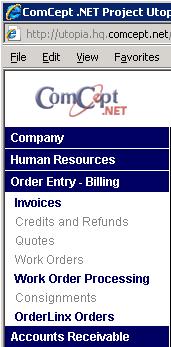
Work Order Processing is accessed under the Order Entry-Billing section of your application.
- The link name within your full application is called “Process WO”.
- The link name if already in CDN’s Thin Client application the link name is “Work Order Processing”.
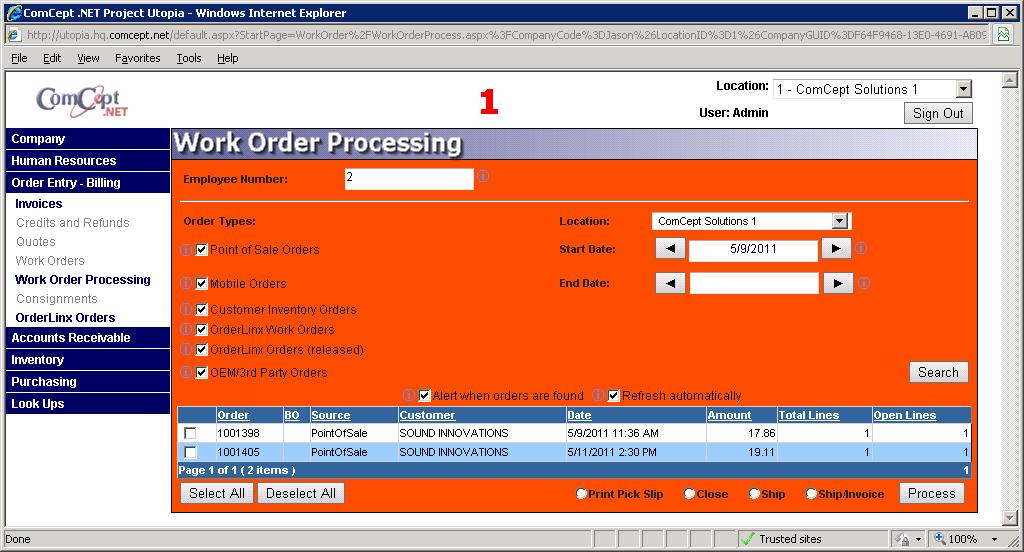
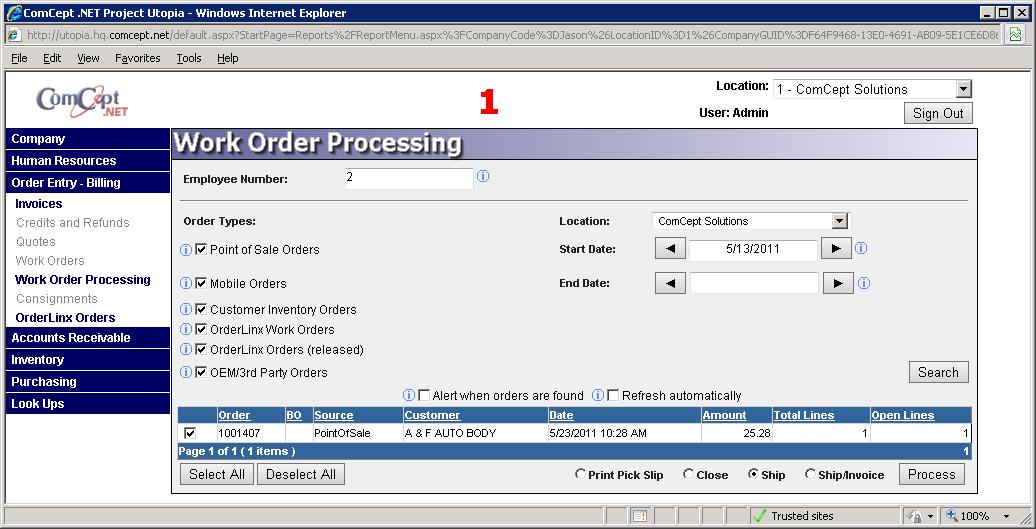
 Work Order Processing main selection and parameter screen use:
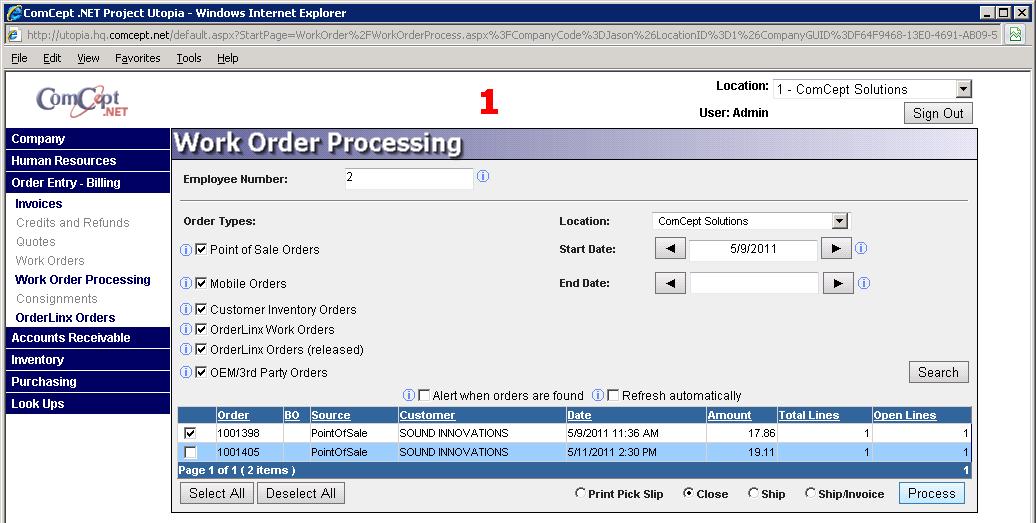
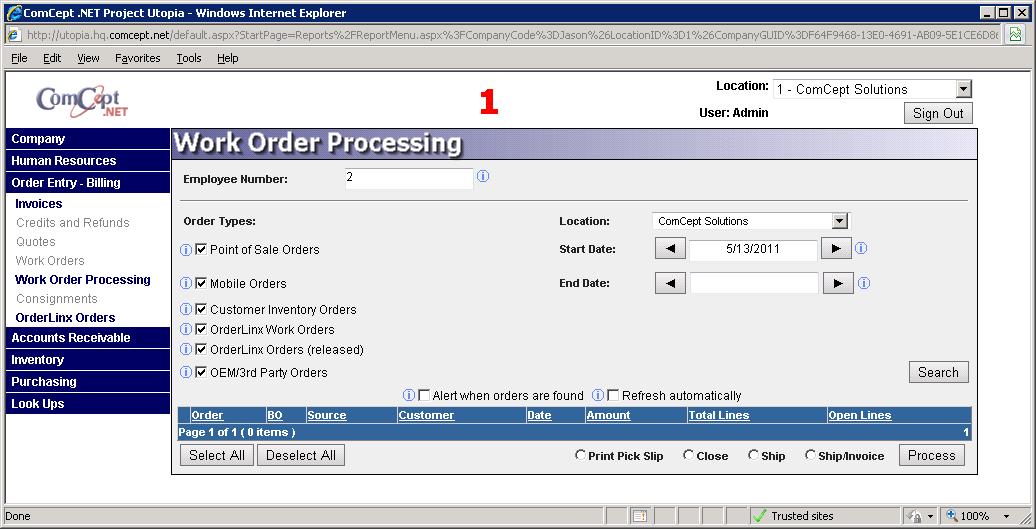
 The top portion of the Work Order Processing screen is used for selecting which work orders to display for processing.
- Location: Select the store location the orders will be processed under.
- Start Date: Select the beginning date of work orders to display.
- End Date: Select the last day you wish to view work orders for.
- Order Types: Select or Multi-Select the types of orders that were placed. (See Above for descriptions of Order Types)
- Search: Once you have filled in your parameters of work orders to display click “Search” to generate the list.
- Refresh automatically: This option will automatically refresh the displayed orders every 30 seconds based on the parameters selected.
- Alert when orders are found: This option will cause the background color to flash between white and red when orders are found.
- NOTE: Refresh and Alert options are especially useful when dealing with order types of “Mobile Orders” and “CollisionLinx Orders (released).” These are submitted from either your customers or your sales staff on the road using Mobile Suite or CollisionLinx.
'
'
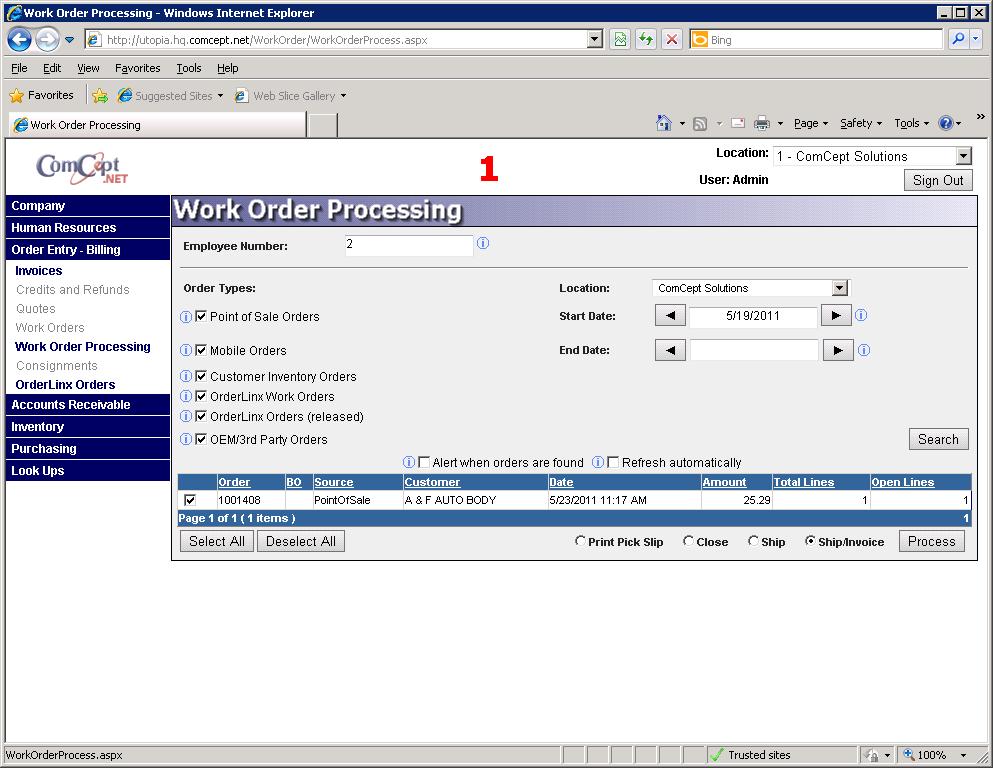
Work Order Processing Search Results: The middle portion of the Work Order Processing screen is where the Work Orders are displayed based on the upper portions parameters.
- There are 10 Work Orders displayed per page. Navigate from page to page using the page numbers in the lower right corner.
- You can sort the displayed results by any one column by clicking on that column name.
- The far left column is used for selecting which Work Orders will be processed. (Described below under“Work Order Processing Tasks”)
- Order Column: This column displays the actual Work Order transaction number.
- Source Column: This column displays the way in which the order was created. “Point of Sale” being from the Work Order screen, “Mobile” being submitted by your sales staff using CDN Wireless Salesman, “CollisionLinx” being an order you accepted from a customer placed through their CollisionLinx account as a Work Order, and “OL Released” being a new order that has been submitted by an CollisionLinx customer of yours.
- Customer Column: This is the “Bill To” customer for the order. Date Column: The date the order was created.
- Amount Column: The dollar amount of the work order.
- Lines Column: Displays the number of line items on that order.

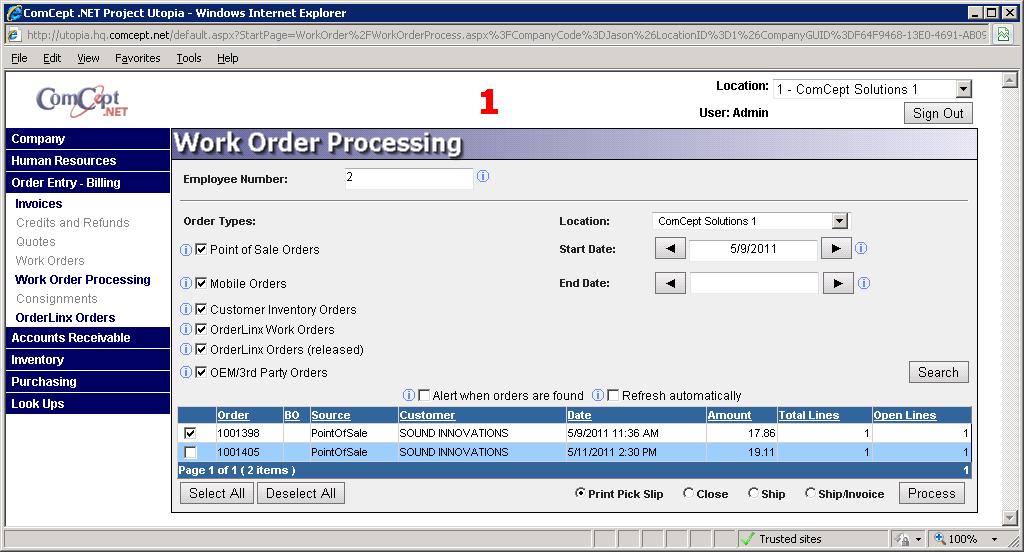
Work Order Processing Tasks:
The lower portion of the Work Order Processing screen is where the user selects the task to perform on the desired work orders.
Note: Source of “OL Released” is for visibility alerts only and cannot be processed from this screen. They must be accepted via the Online Orders section of your application. All other work order types have a check box selection located to the left of the displayed work order number.
Button and Task Descriptions:
- Select All: Clicking this button will place a check mark next to ALL work orders within the search criteria.
- Deselect All: Clicking this button removes the check marks from ALL work orders within the search criteria.
- NOTE: “Select All” and “Deselect All” adds or removes the check marks on ALL orders within your search criteria. This means that is your search results include 34 orders on 4 pages it will select or deselect all orders cross all 4 pages.
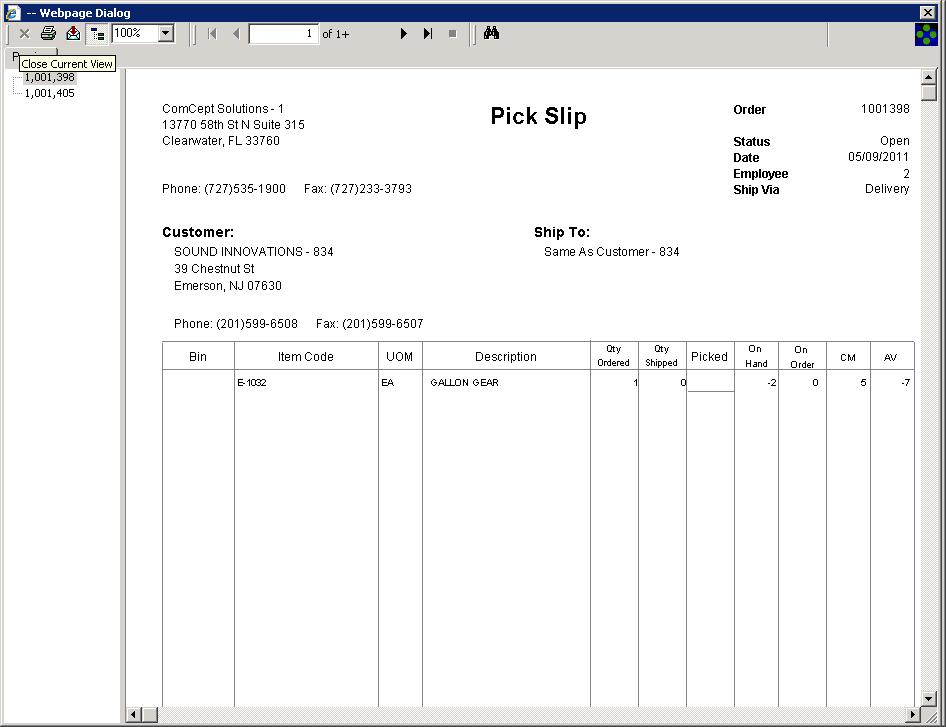
- Print Pick Slip: This Task generates a batch of Picking Tickets ready to be pulled based on the work orders selected.
- Close: This Task allows the user to select multiple work orders to completely close cancelling the order.
- Ship: This Task allows the user to create 100% filled shipments based on the Work Orders Selected with a batch print of “Packing Slips”.
- Ship/Invoice: This Task allows the user to create 100% filled Invoices based on the work orders selected with a batch print of those Invoices.
- Process: The Process button starts the selected task across the selected work orders.
Print Pick Slip Task
This is Best utilized when dealing with Mobile type orders.
- Select the Work Orders you wish print picking tickets for.
- Select the “Print Pick Slip” option.
- Click the “Process” button
- A small dialog box will appear…. Process these Orders? Click OK to continue the task or Cancel to quit the task. Clicking Cancel closes the small dialog window.

- Clicking OK will generate an advanced report which includes all work orders selected with a page break on each order.
- The user can then print the batch of picking tickets as well as archive as an Adobe pdf if desired.
- Close the displayed report to return to the Work Order Processing screen.
- NOTE: This function does NOT remove the selected work orders from the list as they are still open work orders. However it DOES remove the check marks from those previously selected work orders
- The Work Order Processing screen is now ready for the next task request.
Close task:
This task will close and cancel all selected work orders. Very useful for cancelling old back orders no longer needed:
- Select the work orders you wish to close.
- Select the Close task option.
- Click the Process button.
- A small dialog box will appear…. Process these Orders? Click OK to continue the task or Cancel to quit the task. Clicking Cancel closes the small dialog window.
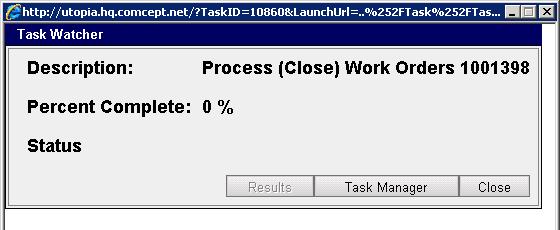
- Clicking OK will redirect the user to a task processing screen that opens in a separate window.
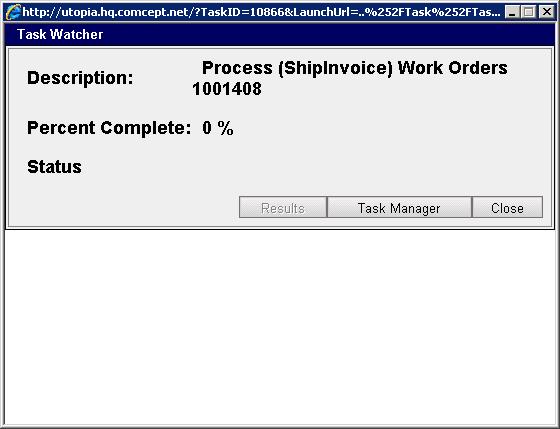
- This Comcept.NET Task Watcher screen describes the task taking place. The time it takes to complete the task depends on the volume of orders included in the task.
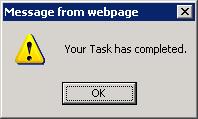
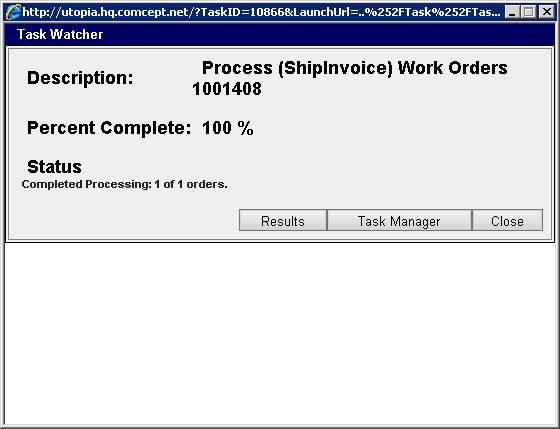
- When the task is completed a small dialog window appears saying “Your Task has completed”. Click OK on this window.
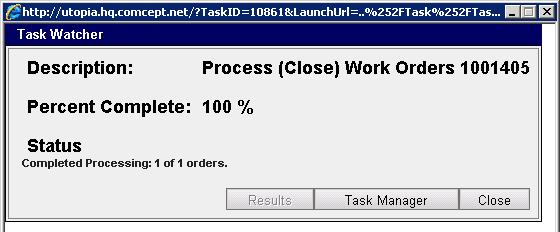
- When the dialog box is closed the Task Watcher screen is updated showing completed process details in the Status section.
- Select the “Close” button on this screen to close the window.
- After closing the Task Watcher window the Work Order Processing screen will no longer display the selected work orders that were closed.
- The Work Order Processing screen is now ready to perform the next task.

Ship task
This task may not be widely used but does serve a purpose if the invoices are to be created at a later time or the customer does not want the invoice included in the delivery and would rather have a packing slip. NOTE: these created shipments will still need to be invoiced through other means:
- Select the work orders you wish to create as 100% filled Shipment packing slips.
- Select the “Ship” task option.
- Click the Process button.
- A small dialog box will appear. Process these Orders? Click OK to continue the task or Cancel to quit the task. Clicking Cancel closes the small dialog window.
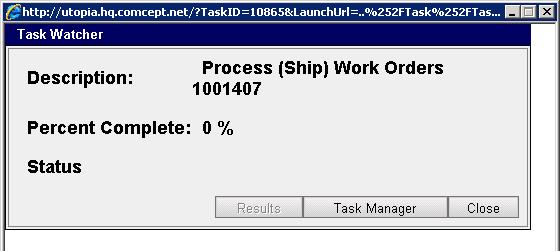
- Clicking OK will redirect the user to a task processing screen that opens in a separate window beginning the Task Process.
- This Comcept.NET Task Watcher screen describes the task taking place. The time it takes to complete the task depends on the volume of orders included in the task.
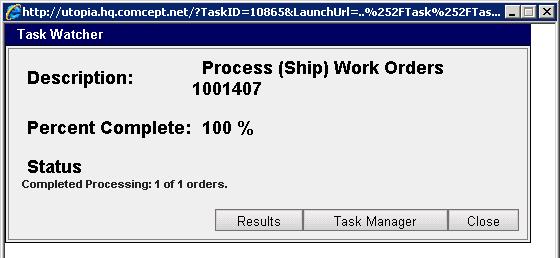
- Once the task is completed a dialog box will appear saying: “Your Task has completed. You may click on the Results button to perform any final steps.”
- Click OK on this dialog box.

- You can now click on the “Results” button in the task watcher window which will allow you to print your batch of Shipment Packing Slips.
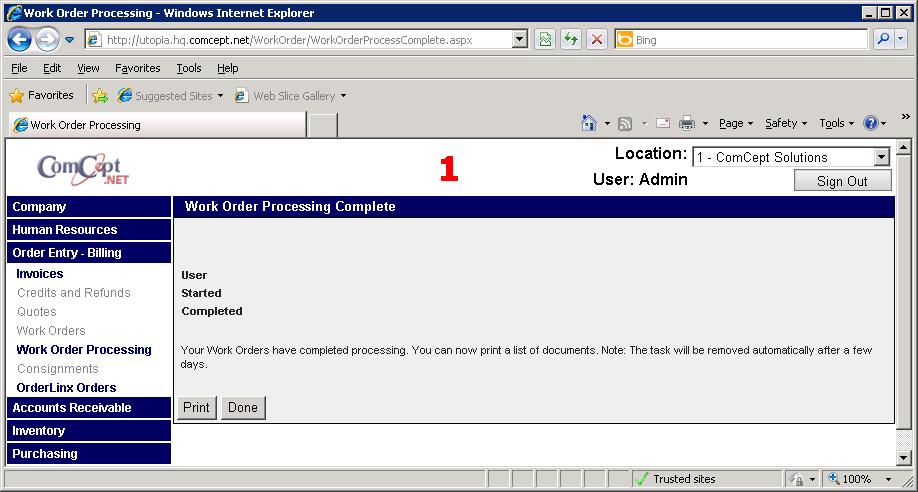
- Clicking “Results” will open a new window “Work Order Processing Complete”.
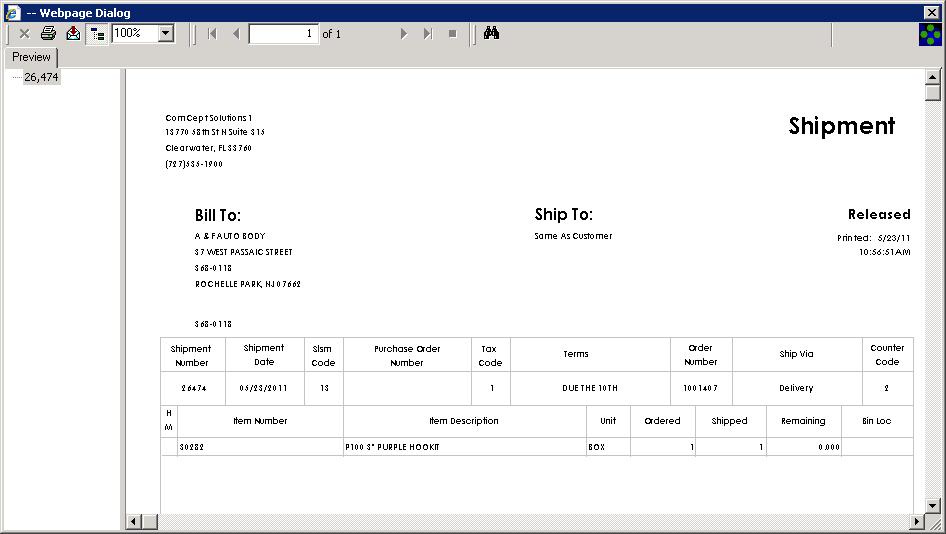
- Click the “Print” button within the Work Order Processing Complete Window to display your batch of Shipment Packing Slips.
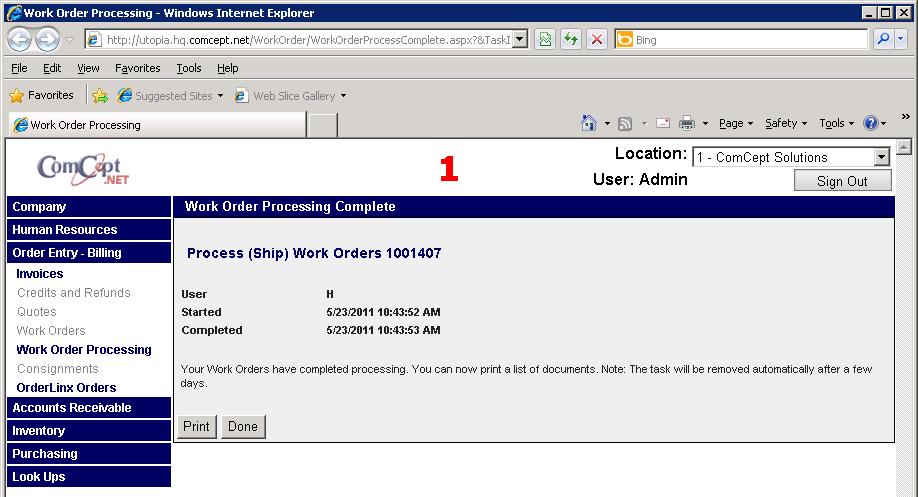
- Once the report batch is displayed, print the batch to your printer, or if you wish, archive the batch as an Adobe PDF file.
- After the batch is successfully printed click the “Done” button on the Work Order Processing Complete window.
- When selecting done a dialog window will appear stating: “Please make sure you successfully printed the documents generated by this Work Order Process before continuing.”
- Click “OK” if the batch printed successfully.
- Click “Cancel” if the batch did NOT print properly and attempt the print routine again.
- NOTE: When clicking on “Done” followed by OK in the dialog window the Work Order Processing Complete window will be re-opened to the beginning Work Order Processing selection screen. If you still had the original Work Order Processing screen open close this window as it is a duplicate.
- The original window will be redisplayed with the Work Orders selected to create Shipment Packing Slips removed from the list of available WO’s.

Ship/Invoice Task
This Task will create a batch of 100% filled Invoices of the Work Orders Selected for the process:
- Select the work orders you wish to create as 100% filled Invoices.
- Select the “Ship/Invoice” task option.
- Click the Process button.
- A small dialog box will appear. Process these Orders? Click OK to continue the task or Cancel to quit the task. Clicking Cancel closes the small dialog window.
- Clicking OK will redirect the user to a task processing screen that opens in a separate window beginning the Task Process.
- This Comcept.NET Task Watcher screen describes the task taking place. The time it takes to complete the task depends on the volume of orders included in the task.
- Once the task is completed a dialog box will appear saying: “Your Task has completed. You may click on the Results button to perform any final steps.”
- Click OK on this dialog box.

- You can now click on the “Results” button in the task watcher window which will allow you to print your batch of Invoices.
- Clicking “Results” will open a new window “Work Order Processing Complete”.
- Click the “Print” button within the Work Order Processing Complete Window to display your batch of Invoices.
- Once the report batch is displayed, print the batch to your printer, or if you wish, archive the batch as an Adobe PDF file.
- After the batch is successfully printed click the “Done” button on the Work Order Processing Complete window.
- When selecting done a dialog window will appear stating: “Please make sure you successfully printed the documents generated by this Work Order Process before continuing.”
- Click “OK” if the batch printed successfully.
- Click “Cancel” if the batch did NOT print properly and attempt the print routine again.
- NOTE: When clicking on “Done” followed by OK in the dialog window the Work Order Processing Complete window will be re-opened to the beginning Work Order Processing selection screen. If you still had the original Work Order Processing screen open close this window as it is a duplicate.
- The original window will be redisplayed with the Work Orders selected to create Invoices removed from the list of available WO’s.
If you have any questions or concerns, please submit a support request from our website
Comcept.net. Fill in as much information on that page as you can including details of your question and click “Send to Comcept”.