Consignments
This task is used to create Standard and Credit Consignments
Select
Consignments from the
Navigation Bar or from the Drop Down Menu
Order Entry – Billing.
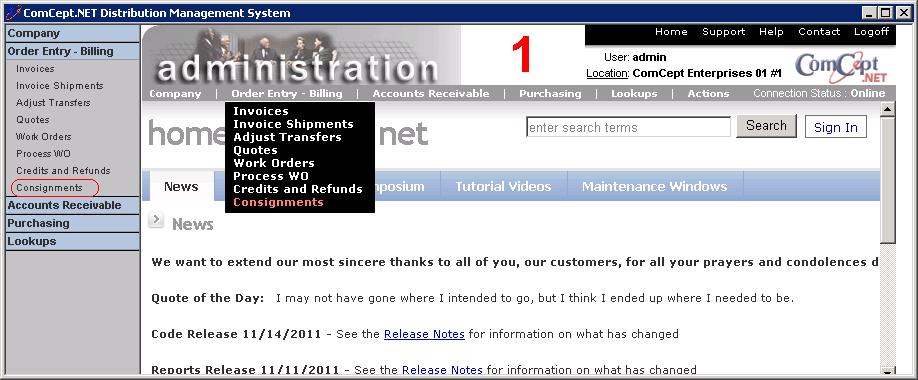
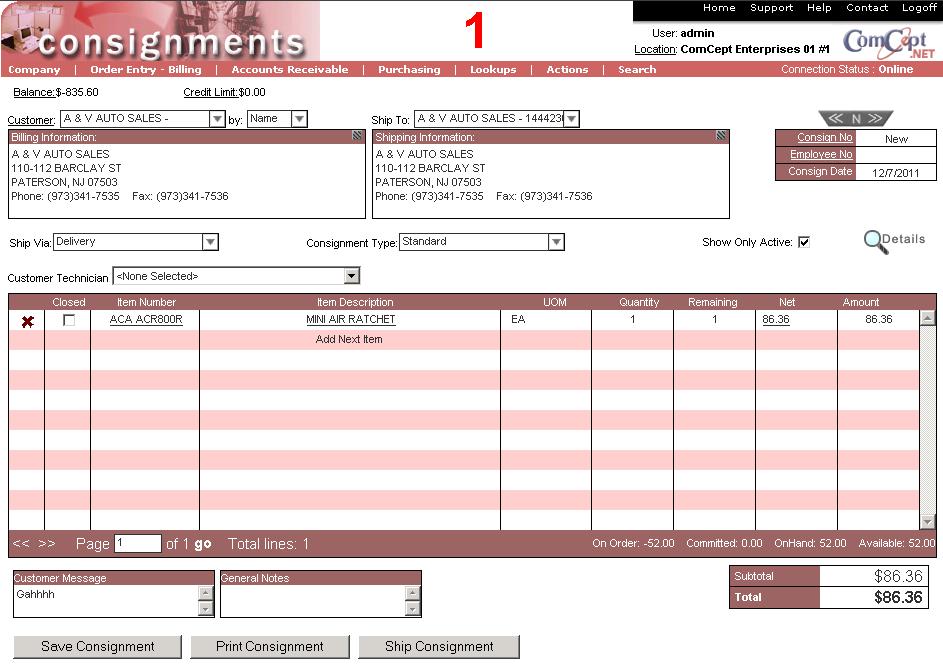
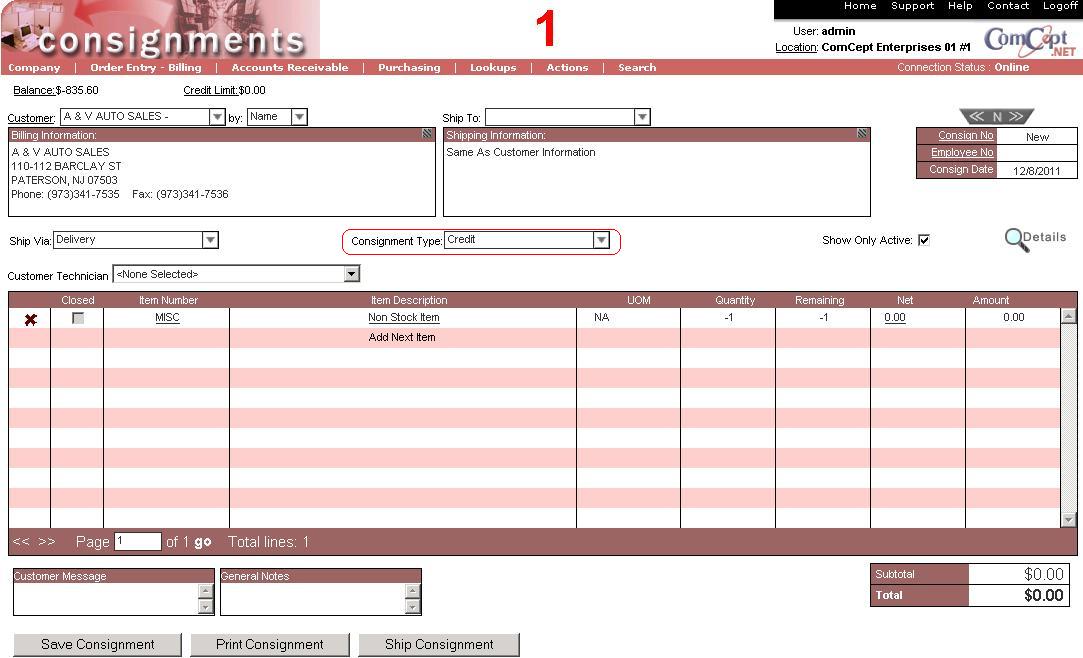
Consignments Screen
This is the
Consignments Screen.
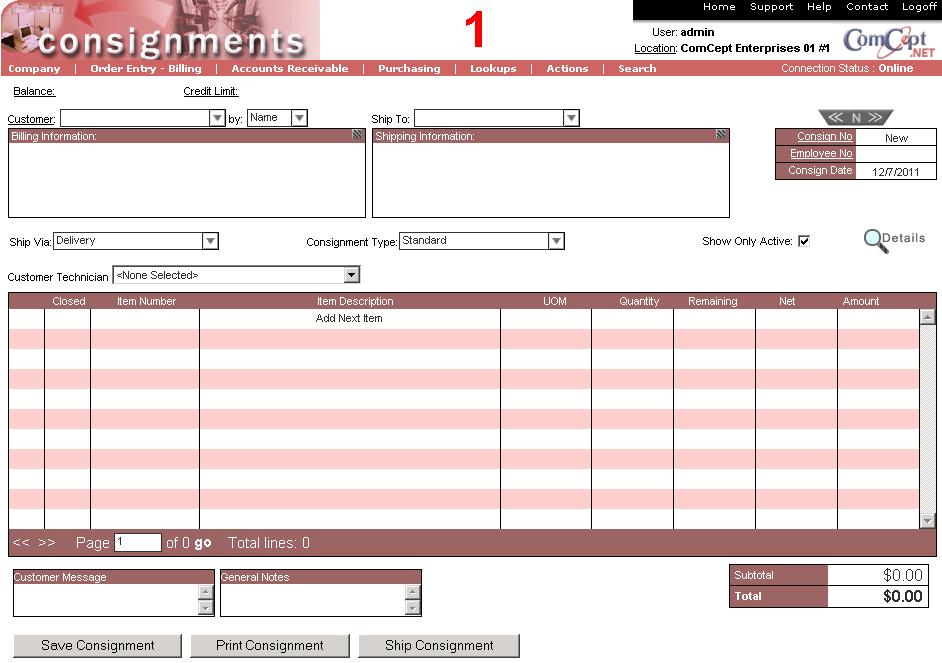
It is important the
User and the
Location are correct because multiple users and locations can be accessed from the same computer. These are located in the top right area of the screen.
The
Consignments screen is similar to the
Invoice screen ecept for:
- The Consignment Type must be selected.
- The Consignment buttons are Save, Print and Ship.
- The action menu contains:
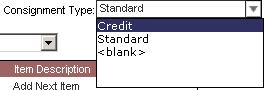
 Consignment Type
: Select the type of consignment that needs to be generated.
The
Save Consignment button saves the consignment.
The
Print Consignment button prints the consignment document.
The
Ship Consignment button indicated that the consigned items have been sent to the customer.
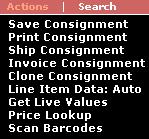
Consignment Action Menu Items
Save Consignment: Saves the consignment
Print Consignment: Prints the consignment
Ship Consignment: Ships the consignment
Invoice Consignment: Creates an invoice from one to all of the items on the consignment. This process should only be used when the customer needs to pay for the items on consignment
Clone Consignment: This action creates a new consignment with identical items, but no customer. The customer will need to be populated before the consignment is saved.
Line Item Data: This action item will turn on or off the section of the grid that displays the part number's on order, committed, on hand and available quantities. If the setting is set to Auto, these values will display. Manual hides the values.
Get Live Values: This option updates the items on order, committed, on hand and available quantities with the latest values.
Price lookup: This action menu item will display the Price Lookup module. If a customer is already entered, the customer and location will be auto-populated. if no customer is entered then nothing will be auto-populated.
Scan Barcodes: This aution item displays the barcode scanning module common amoung all the point of sales screens. It will allow the user to scan the item's barcode instead of hand keying it.
Credit Consignment
Credit Consignments are used to reduce the cost of goods sold on consigned items. Once this document is saved it immediatly affects on hands and GL and cannot be resaved. It is not recommended to use this document to reverse consigned items.
Ship a Consignment
- Inorder to ship a consignment, the consignment first needs to be created.
- Select the Ship Consignment button or Ship Consignment from the Action Menu. The Shipment screen will be displayed and populated with all of the data from the Consignment screen.

3 Save the shipment. Note: You cannot invoice a consignment from the shipment screen.
Invoice a Consignment
Invoicing a consignment should only happen when the customer needs to pay for the consigned items. A user can invoice some or all of the consigned items.
- Open the consignment that needs to be invoices
- Select the Invoice Consignment option from the Consignment Action menu.
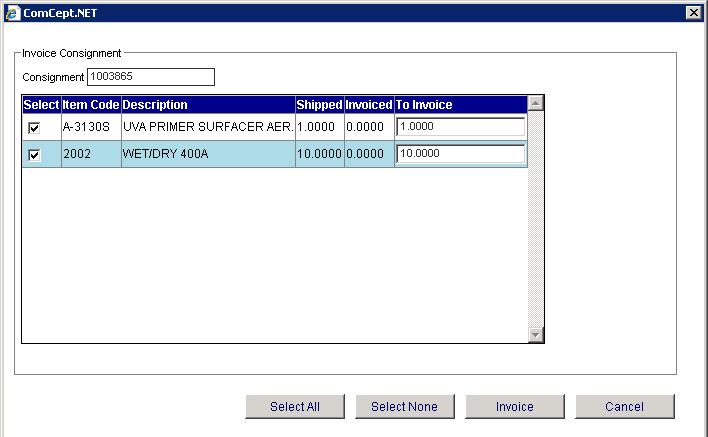
3 Select all of the appropriate items to invoice. 4 Select the
invoice button. The Invoice screen will be displayed with the customer information and the item grid will be populated with all of the selected items and quantities.
Clone a Consignment
Cloning a consignment works like all of the other point of sale screens. The original consignment items will be copied to a new consignment, but the customer data will not. In order to save the newly formed consignment, a customer will need to be selected.
NOTE: Credit consignments cannot be cloned.