Page History: Axalta ePOs
Compare Page Revisions
Page Revision: 05/13/2023 01:37 PM
Axalta OMS Purchase Orders
Create CDN Purchase Order
Must include the appropriate Axalta OMS Purchase Order codes in the
Customer Message box (see below for values):
Regular order (may be broken case)
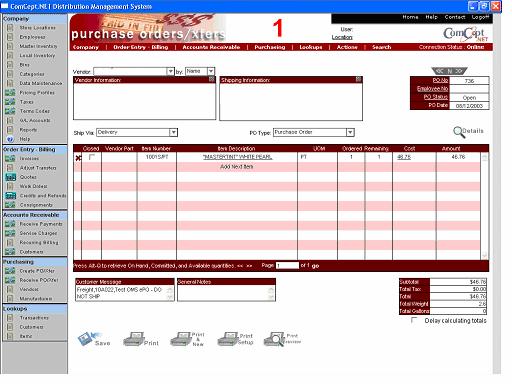
Customer Message options examples (capitalization must match for the first two values separated by the commas):
- Regular order (may be broken case) - Freight,10A022,enter any comments you need after the 2nd comma (,)
Note: "Freight" must start with an upper case "F" followed by lower case "right" and the "A" following the 10 must be upper case. - PSD Truckload order (must be full case) - Freight,11A016,enter any comments you need after the 2nd comma (,)
- PSD Truckload order (must be full case) - Freight,11A025,enter any comments you need after the 2nd comma (,)
- Ship immediately - UPS,10A022,enter any comments you need after the 2nd comma (,)
- Jobber will pick up the order - Customer Pick-up,10A022,enter any comments you need after the 2nd comma (,)
PSD Truckload order (must be full case)
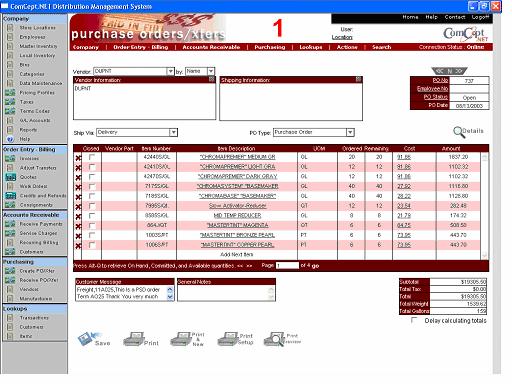
Send PO via the Internet
From the
Create PO/Xfer screen (with the Purchase Order to be sent displayed on the screen) from the
Action menu select
Send PO via Internet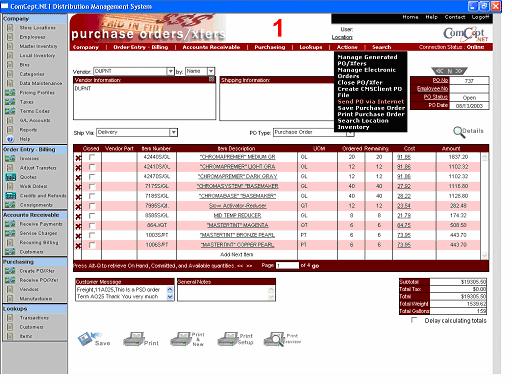
Send Multiple PO’s via Internet
To send more than one PO via the Internet, each PO must use all have the same shipping instructions and payment terms. You can not send a UPS order and Freight order on the same send. If the PO’s are PSD, they must each be a PSD order on their own.
Sending multiple PO’s is designed so that you can send a PO from a separate location without having to log into that location first. You may send a PO from location 1 and location 2 at the same time, if they meet the same shipping terms, for example. You can also send just one PO from this screen which makes it very useful if you send PO’s for other locations. Again, even to send one PO, you do not have to be logged onto that location to send the PO using this method.
To send using this method, do not enter anything in customer messages. Go to actions, then click on Send Multiple ePO’s to access the following screen:
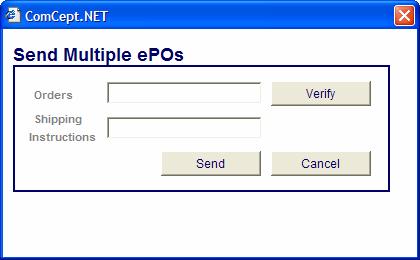
In the Orders box, enter the PO or PO’s that you are sending. Next, enter the shipping terms just as you would if you were putting them in the Customer Message box as seen in the 1.2 section.
Once the shipping information is entered, click Verify to double check for validity of the PO’s.
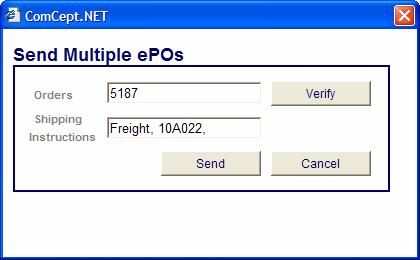
Once you have verified the PO number, click send.
Managing Electronic Orders
Note: Any of these following screens can be printed by selecting the screen (left-click it with the mouse), then (Ctrl)(p), select a high speed printer from the
Print pop-up window, then select
Print.
From the
Create PO/Xfer screen (with any or no Purchase Order displayed) from the
Action menu select
Manage Electronic Orders:

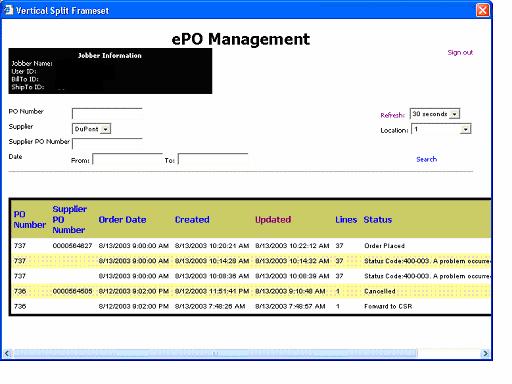
ePO Management Screen
The
PO Number entries on this screen can be sorted by any of the column headings. Use the mouse to select the column heading to sort the column. Reselect the column to reverse the sort order.
This example shows the entries sorted in descending order by the
Updated date.
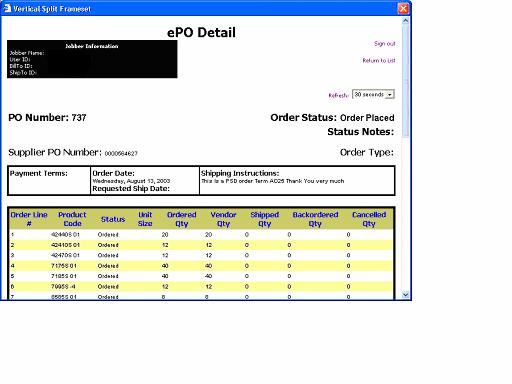
ePO Detail
Top of ePO Detail screen.
ePO Detail Event Window
Bottom of the
ePO Detail screen.
Scroll to the bottom of the screen to view the Event Window.
This contains the Carrier Reference Number and Name.
This also contains the
Download link used to download the ASN shipping notice sent by the Vendor. The
Download will update the
Receive PO/Xfer screen with the items shipped by the Vendor.
The Jobber should make any final adjustments to the quantities received before saving (finalizing) the PO receipt.
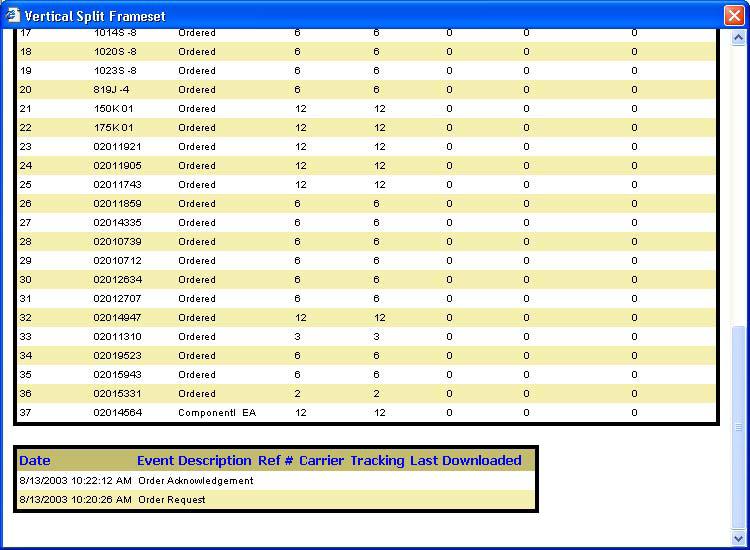
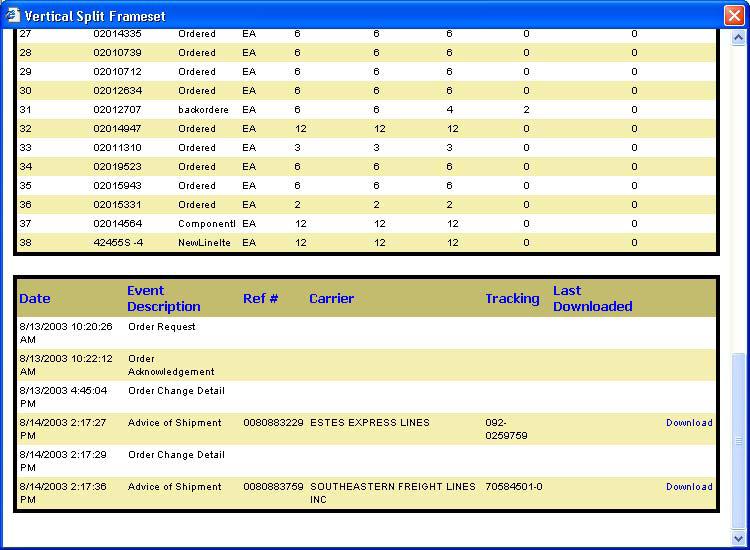
This screen shows several changes made to this ePO and two shipments with the corresponding
Download link used to receive the ASN from the vendor.
This screen gives a recap of the line items from the ASN that were downloaded into the Receipt Worksheet.
Pressing OK will open the Receipt in the Receipt Worksheet for further review and Finalizing.
