Page History: Work Order Help Documentation
Compare Page Revisions
Page Revision: 09/27/2011 10:38 AM
Work Orders
The Work Orders task is a multiple step process that allows the creation of multiple shipments and invoices from the same work order. The steps are:
- Print the Work Order (optional).
- Print the Picking List (optional).
- Create the Shipment from the Work Order.
- Print the Picking List (optional).
- Print the Packing List (optional).
- Create the Invoice from the Shipment.
The Work Order function is available in offline mode. The offline ID is made up of the letters “WO” (for work order) with the work order number appended on the end (i.e. WO9999).

Select
Work Orders from the
Navigation Bar or from the Drop Down Menu
Order Entry – Billing.
Work Orders Screen

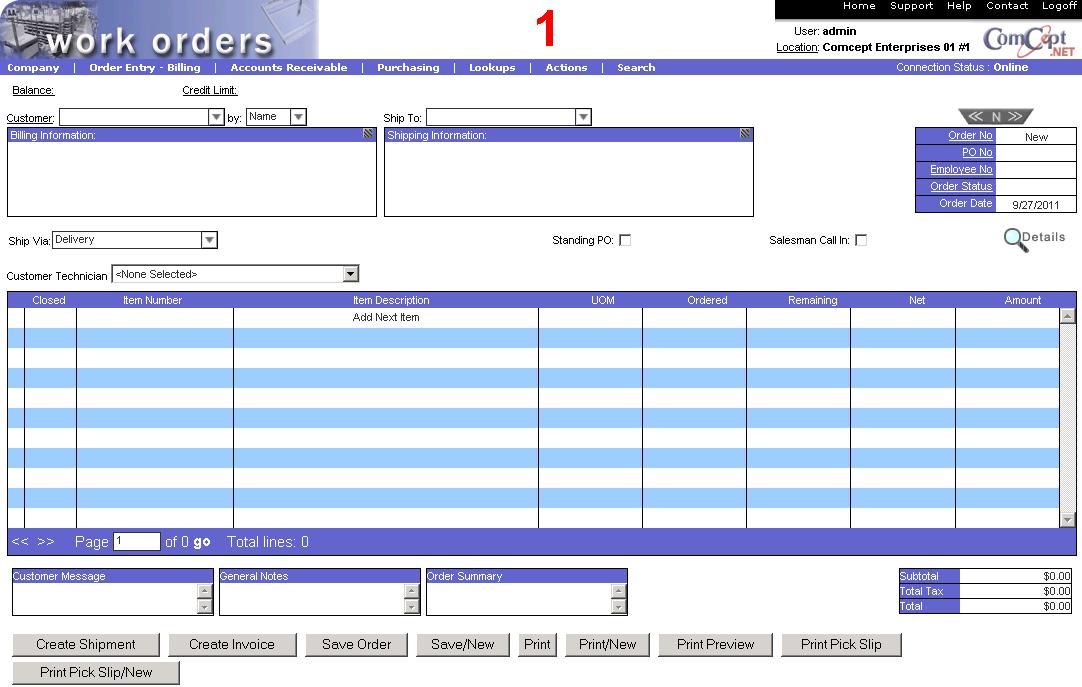
This is the
Work Order screen.
It is important the
User and the
Location are correct because multiple users and locations can be accessed from the same computer. These are located in the top right area of the screen.
The
Work Order screen is similar to the Invoices screen except for the following two check boxes in the heading:
Standing PO: Select this box if the Work Order is for a standing PO.
Salesman Call In: Select this box if the order was called in by a salesperson.

Selecting Actions
Create Shipment, Save, or
Print displays the
Please enter an Employee Number window. Enter your employee number and select
OK to continue.
The
Create Shipment button saves the Work Order and displays the
Shipping screen.
The
Save button saves the Work Order. The message
This item has been successfully saved is displayed.
The
Print button prints and saves the Work Order. The message
This item has been successfully saved is displayed.
After selecting the
Print option, the windows printer window is displayed so that the desired printer can be selected.
The work order is then printed with the words “WORK ORDER” in the upper right corner.
Work Orders Screen Actions
The following actions are available from the Actions drop down menu while in the Work Orders task.
