ComCept.NET Time Clock functions will be updated as of 08‐29‐2010
- Please click on the release notes tab for full information.
- New screen designs with improved editing/adding functionality are now in place.
- There is no longer a need to run overtime calculations after all times have been accumulated and edited if needed. All overtime calculations are now virtual with the reports and batch processes.
- There are also Info links next to many of the fields giving the user some helpful tips.
- NOTE: most users are not currently using batch approve and export areas of this application. You do NOT need to worry about these topics or will NOT have more to do based on the new screens. Those users will stick to the clock‐in/out and time clock manage sections only. However if you do use Ceridian or ADP as a payroll provider these functions are available to you as well.
Security:
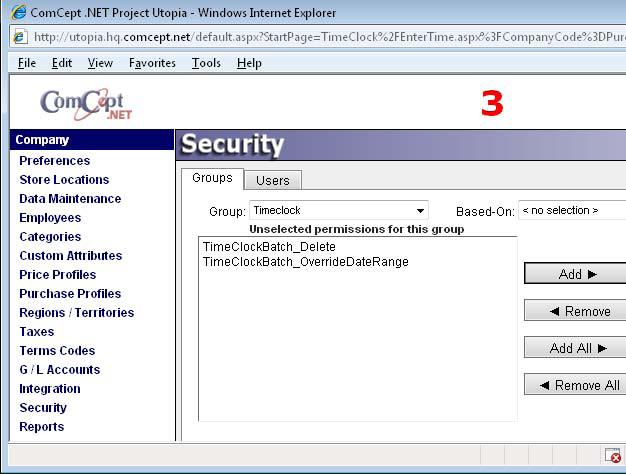
New Security tags for those customers using the Batch Approve and Export portions of the application. These will need to be added the employees security if they should be allowed to change a date range or un‐approve a payroll batch.
General Navigation:
Within the core application Time Clock can still be accessed from the actions menu of the home page.

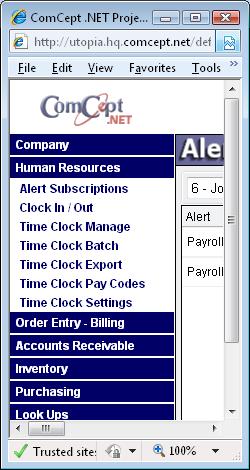
Navigation is also available under the Human Resources section of the Utopia navigation bar.
General:
Anywhere within the Time Clock screens you can click on the blue info link to display help tips for that function. Click on the popup again to close it

Clocking In and Out:
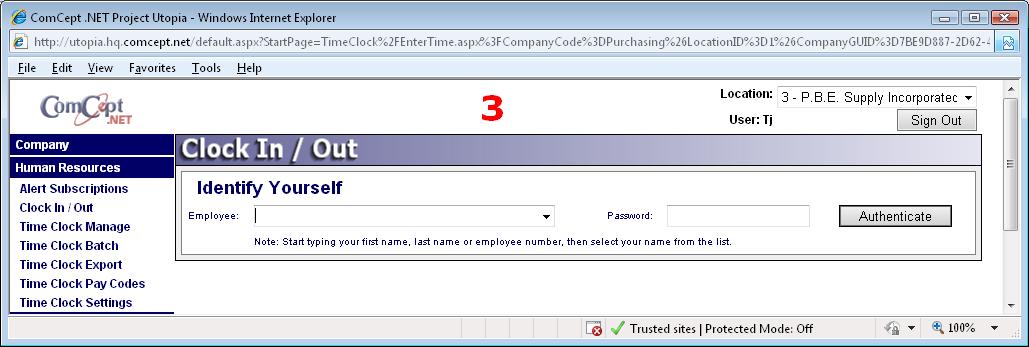
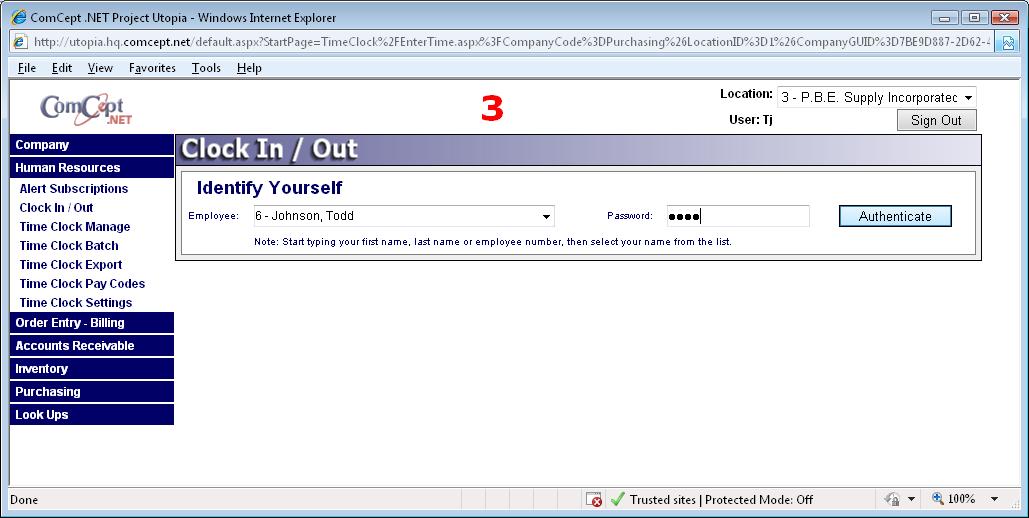
Type either your first name, last name, or employee number to activate the drop down search to locate your employee record.
Select your employee record from the list.
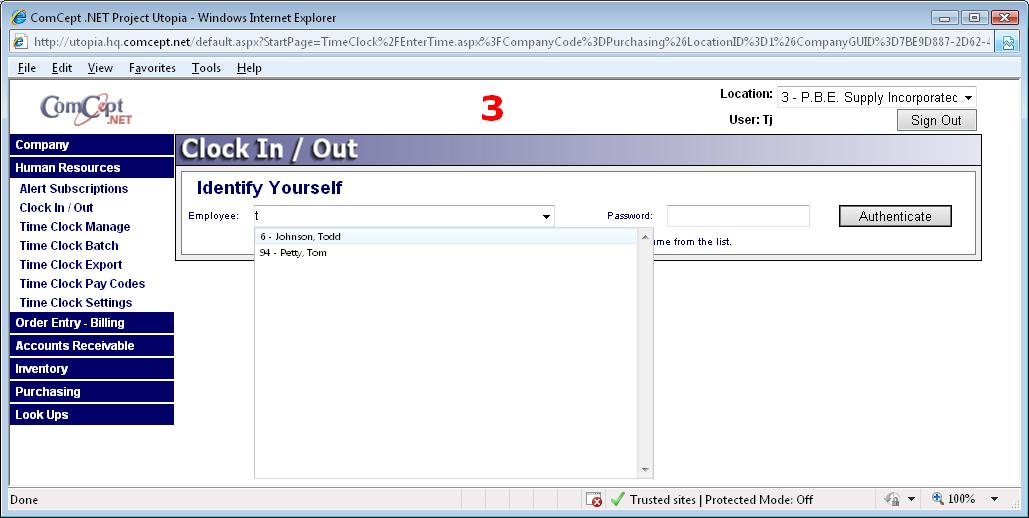
Enter your employee password and then click authenticate.
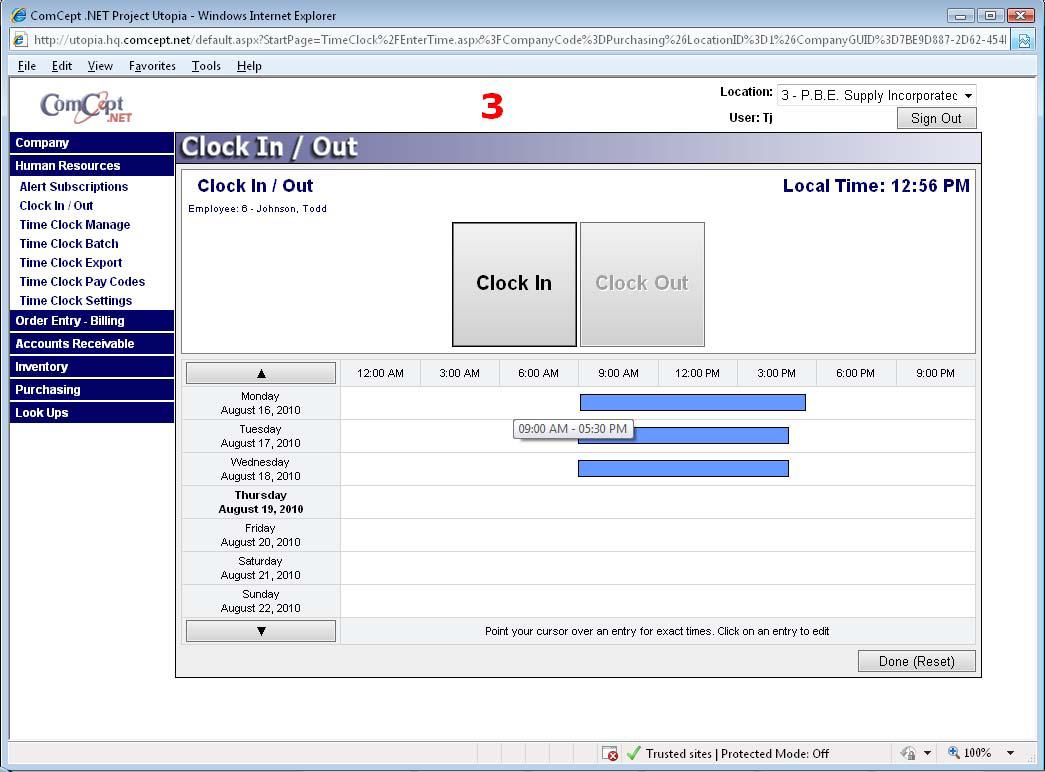
The system will remember your last punch leaving only one option available to clock in or out. A graph is also displayed showing recent activity. By hovering the mouse over a section of the graph it will show the actual clock in/out time range.
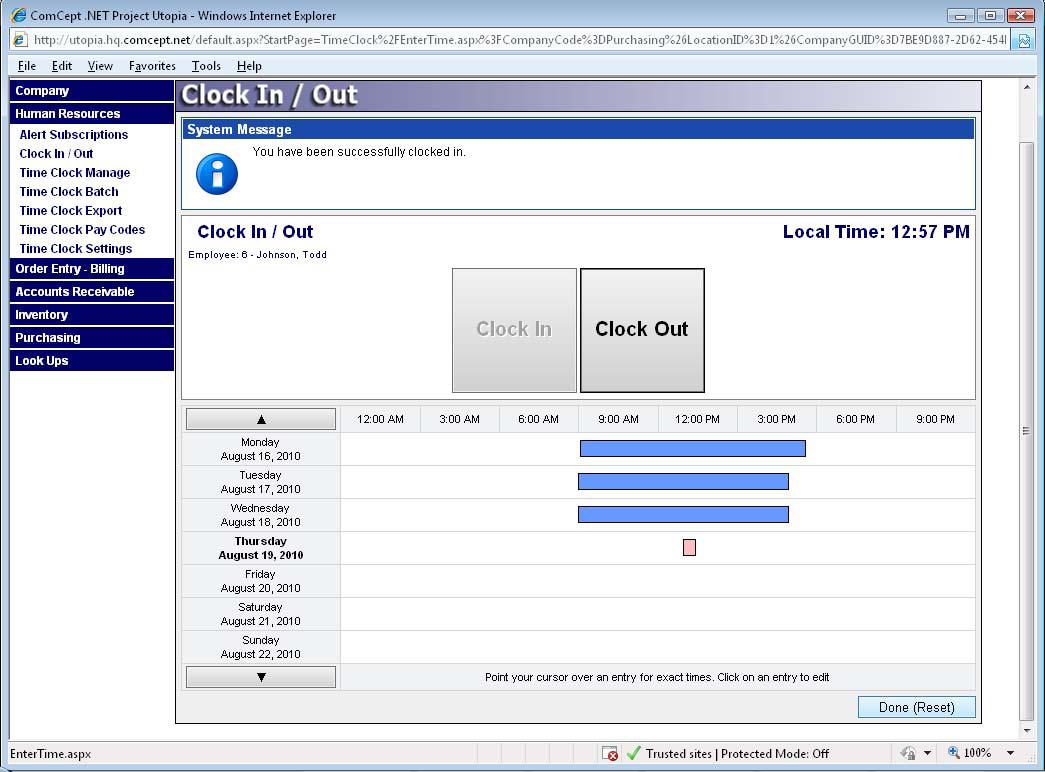
After clicking on clock in/out you will be alerted that it was successful. Click on the done/reset button at bottom of page to return the screen to the employee filter for next employee to clock in/out or close the window if no other employees are waiting to clock in/out.
Time Clock Management:
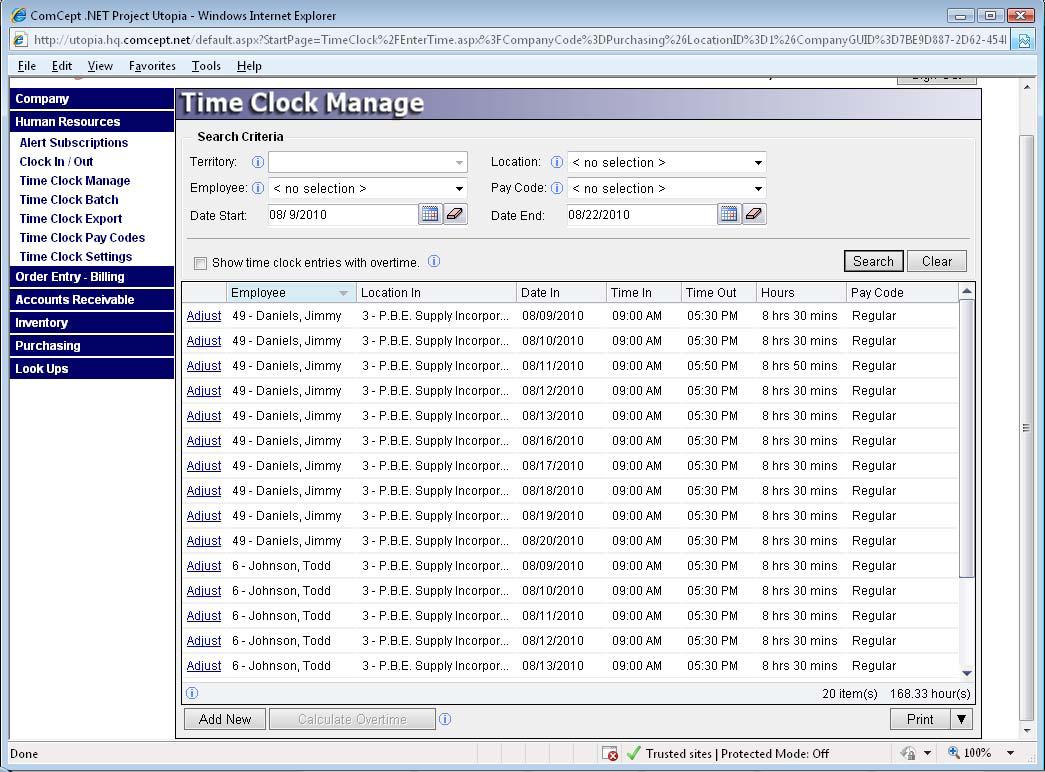
The Time Clock Admin link from the actions menu of the core application home screen brings you to this screen for editing, adding and reporting on pay periods time entries. Default date range will equal current pay period as well as filters for location and territory depending on users security permissions. All of the column headers can be clicked to re‐sort the data on demand.
Printing the time clock report: The look of the displayed report depends on how you set the option labeled “Show time clock entries with overtime”. Printing the report with this unchecked will show all actual hours. Printing with the option checked will show all the hours as well as the adjusted hours for overtime figures. NOTE: Adjustments to entries cannot be made when this option is checked.
Adjusting a Time Clock Entry:
Clicking on the adjust link will bring you to the screen below to make any required adjustments. All adjustments require an explanation of the adjustment to be added. Click save after changes have been made. Entries can now also be deleted however, only entries that were added manually can be deleted. Any entry that had an employee clock‐in/out function with cannot be removed. NOTE: There is no reason to change a pay code type on an entry to overtime. The system will automatically make these records if total hours allows it.

Adding new entries:
Users can add multiple entries at a time as seen below. Check the days that the entries will be added for and fill in the information at the bottom of the screen. NOTE: All entries added at same time must be same time span. IE, vacation days, holidays, etc… User must provide an explanation of the new entries before being allowed to save. NOTE: There is no reason to add an entry for Overtime. Those entries should always be added as regular time and the system will automatically convert to overtime is total hours allows it.

Time Clock Batch:
Batches are used to lock entries for that pay period from being modified. They also are used in the time clock export process to submit to a third party payroll system. The time clock batch screen will display a summary of all hours for all employees for that location. Note for biweekly pay periods the batch screen is for one week at a time. If there are “Open Clock‐Ins” shown the batch cannot be created until all employee punches are completed during that time frame. Place the check mark in place at bottom of screen and then click the Batch/Submit button.
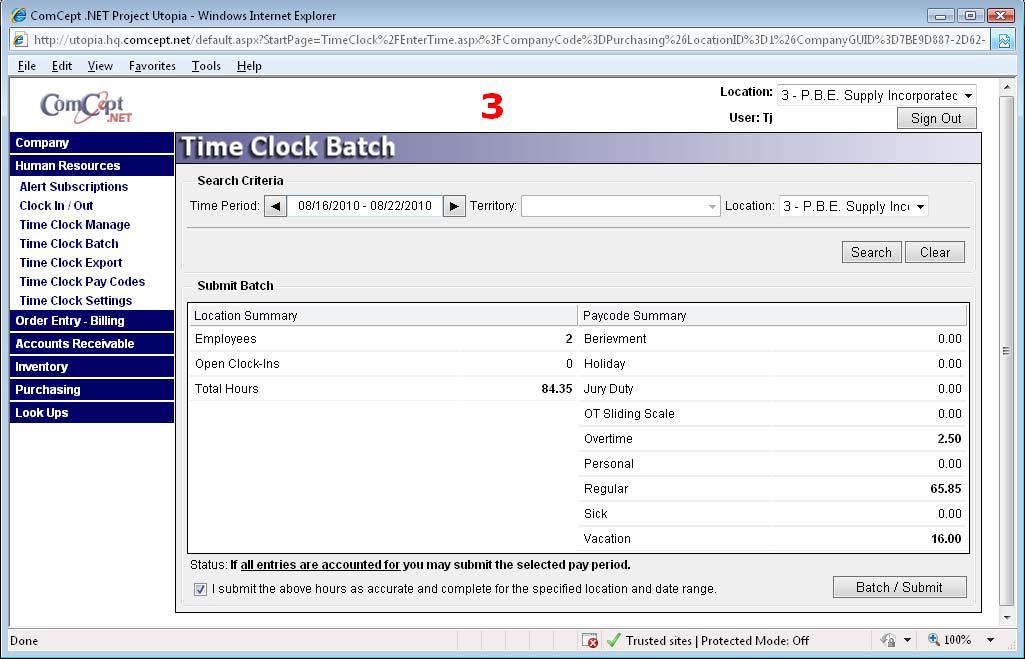
Once a batch has been created it will be listed at the bottom of the screen. In the case where a batch was approved prematurely it can be reversed to allow more modifications to be made and then re‐approve. To unapproved a batch click the “Un‐Batch” link and follow the prompts. You will see an alert at the top of the screen for successful batching of entries or un‐batching of entries.
Continue with the Documentation