Page History: Customer Inventory Help Documentation
Compare Page Revisions
Page Revision: 12/19/2011 02:40 PM
Customer Inventory
Customer Inventory is used to maintain the customer's inventory, bins and populate customer count sheets.
Associated Permissions
CustomerInventory_BinAdd - Allows the user to add new bins to the customer's bin tree
CustomerInventory_BinGet - Allows the bin tree to display all of the bins.
CustomerInventory_BinUpdate - Allows the user to update the details of a bin.
CustomerInventory_ItemAdd - Allows the user to add new items to bins.
CustomerInventory_ItemCopy - Allows the user to copy items from one bin to another bin.
CustomerInventory_ItemDelete - Allows the user to remove the item from the customer bin.
CustomerInventory_ItemEdit - Allows the user to edit the items that are in a bin. This allows the user to edit the Sort Order, Stock Levels, Fixed checkbox and Active checkbox.
CustomerInventory_ItemMove - Allows the user to move items from one bin to another one.
CustomerInventory_Print - Allows the user to print the customer inventory.
CustomerInventory_SetStockLevel - Allows the user to initiate a process that will automatically set the stock levels for all of the items based on the number of days entered and the customer's usage.
CustomerInventory_SetStockLevelAll - Allows the user to select All Customers to generate the set stock level for one customer.
CustomerInventory_View - Allows the user to see the Customer Inventory screen.
Navigation to the Customer Inventory Screen
Customer Inventory can only be accessed in the CDN .Net thin client (Utopia). Select the
Customer Inventory link in the Left Nav.
Open a Customer's Inventory
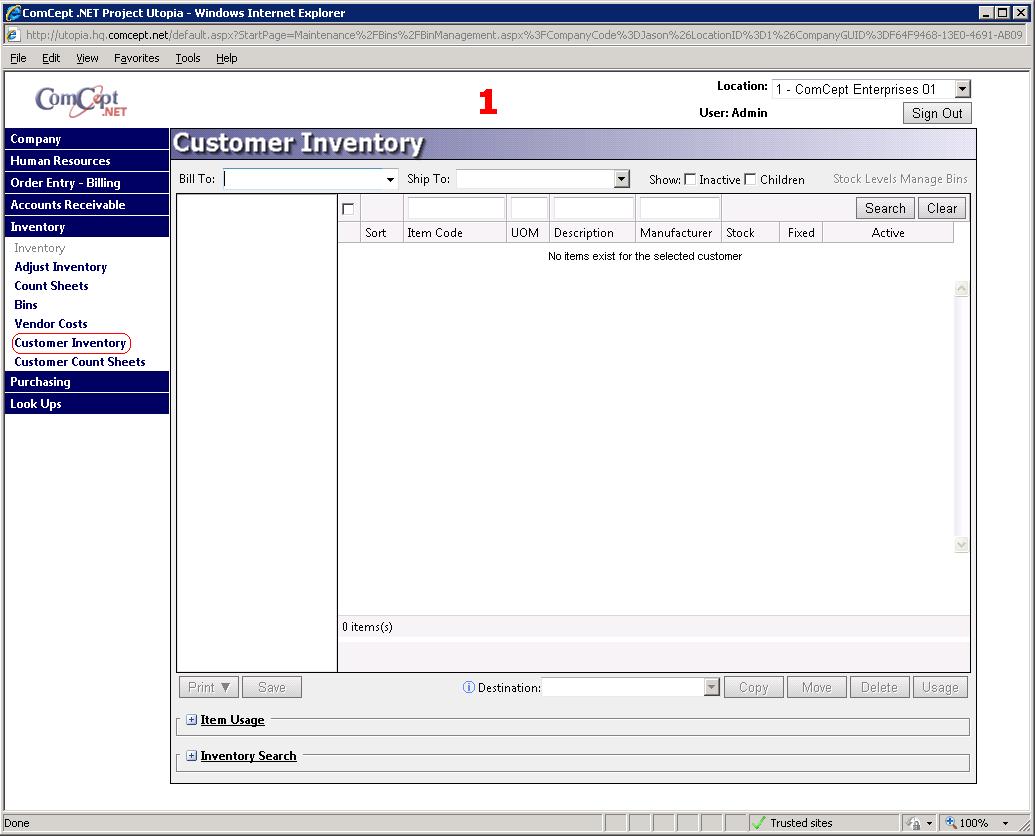
After the
Customer Inventory screen is opened a customer needs to be selected from the
Bill To: dropdown. The user can accomplish this by typing in the customer's name or number. The dropdown results will display the search results and the user must select the customer. The user then can select a ship to of the bill to from the
Ship To: dropdown.
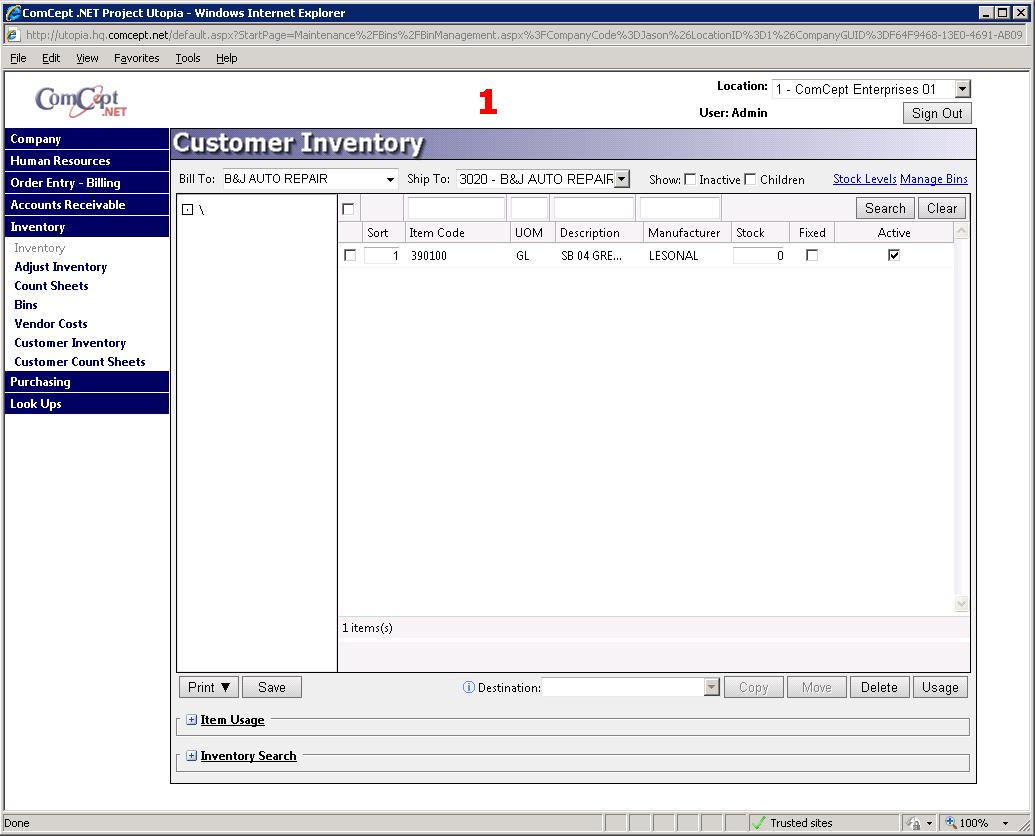
Once the proper customer is selected their inventory and bin tree will be displayed.
Edit Customer Inventory
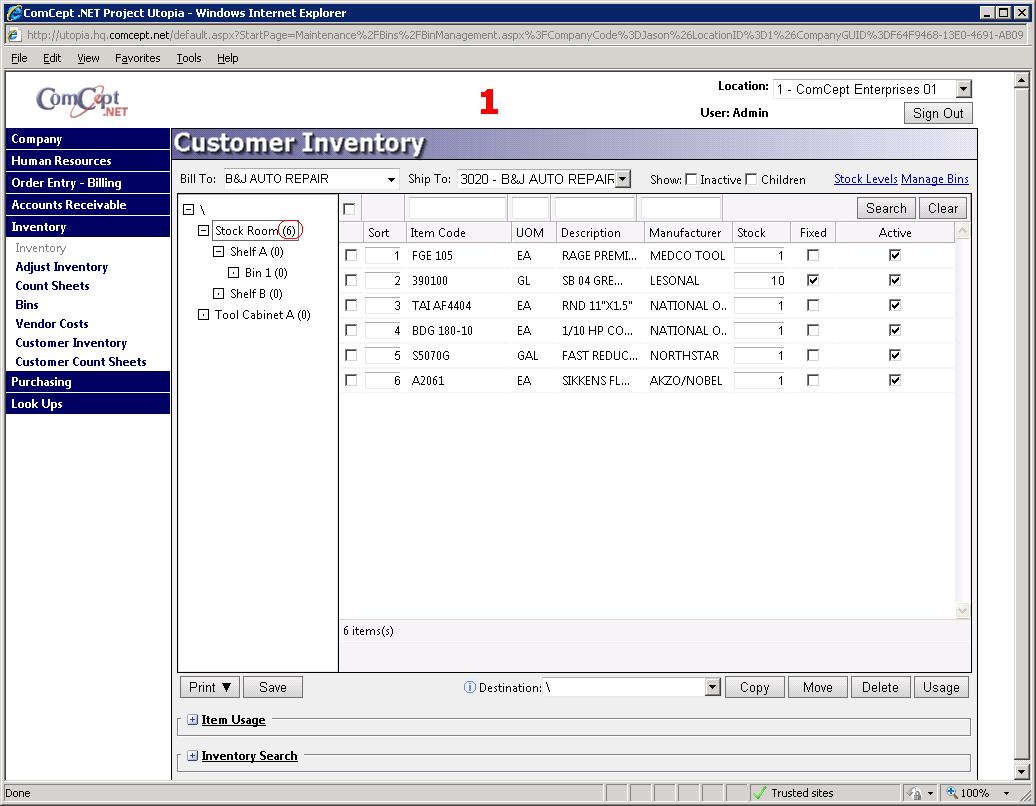
Major Sections of the screen
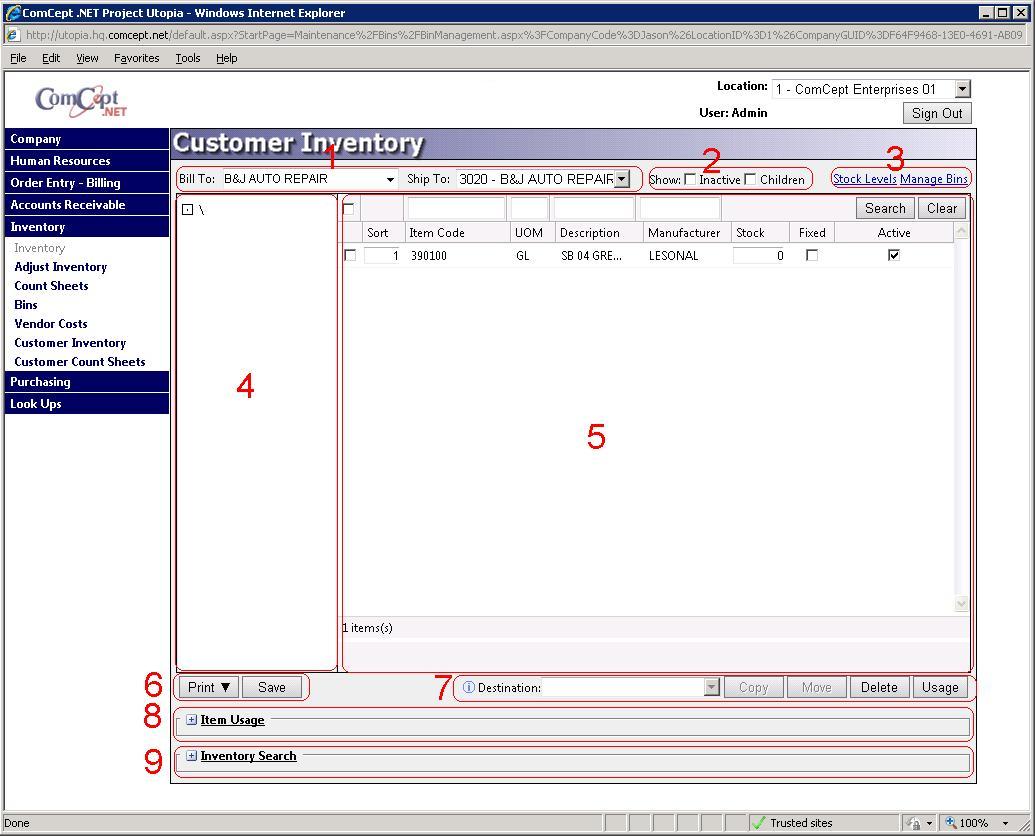
1. This section allows the user to select the correct customer
2. This section lets more or less items display in the item grid and on the print version.
3. This section contains action links to manatain bins and set stock levels.
4. This section displays all of the bins and their proper structure in a tree view.
5. This section is called the item grid. All of the items in each bin are displayed in this section. 6. This section contains the actions that are done to the entire inventory. The user can print or save changes from this section.
7. This section contains all of the actions that are preformed on individual items in the item grid.
8. This section expands to display the usage of a single item. It works in conjuntion with the
Usage button from section 7.
9. This section expands to allow the user to add new inventory. This will be discussed below.
Show Inactive Items
This option is designed to set an item as active or inactive. By default inacative items are hidden. In order to see an inactive item, the user has to select the
Inactive checkbox in section 2. This option displays the inactive item in the grid and printout. The printout states if the item is inactive or not.
Show Children
This option allows the items in children bins to be displayed in the item grid. This option wil also print the children bins and items on the printout.
Set Stock Levels
This feature is used to programatically set the stock levels of all the items for the customer. Select the
Stock Levels link in section 3 to open the
Set Stock Levels page.
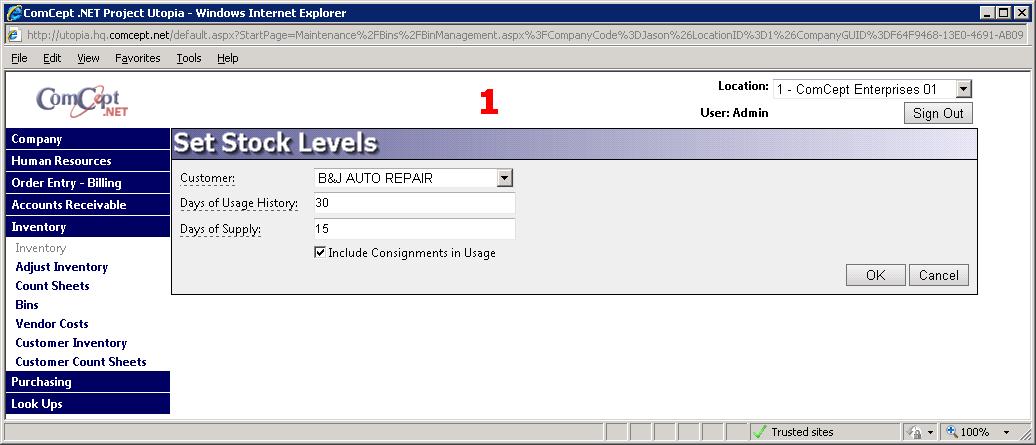
Steps to set a stock level:
- Select one of the options from the Customer dropdown. There are only two valid options: All Customers and the specific customer. It is advised that the user select the specific customer.
- Type a number into the Days of Usage History field.
- Type a number into the Days of Supply field.
- OPTIONAL Select the Include Consignments in Usage checkbox.
- Select the OK button.
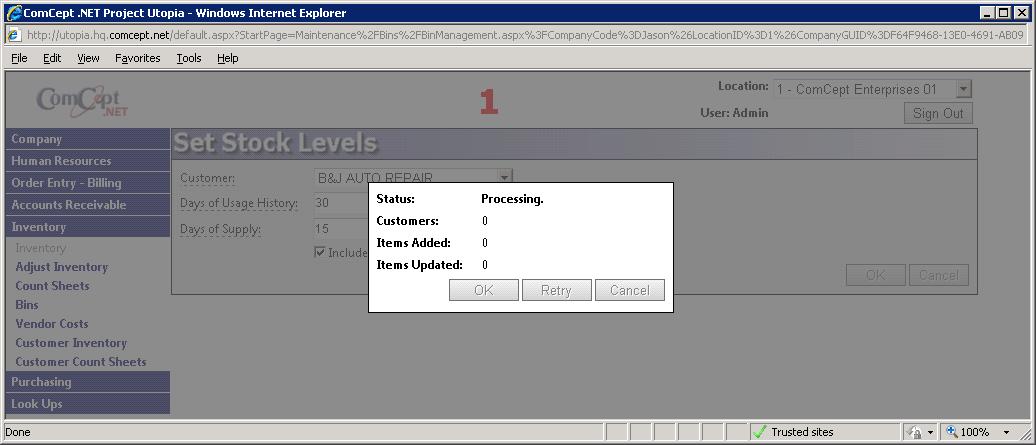
This process has the ability to automatically add items to the inventory. Please note that any items added to the inventory through this method will be added to the root bin. The user will have to manually move the items to the correct bins.
Selecting the
Cancel button will abort the set stock level process.
FixedA user can set an item to be fixed. Fixed means that the stock level of the item will not be adjusted by the set stock level process.
Manage Bins link
This link allows the user to create, edit and delete bins. All of these will be discussed in the
Bins section of this help documentation.
Item Grid
This part of the screen is where all of the items for specific bins are displayed. In order to get items to display, select a bin from the bin tree (section 4).
Item Grid ComponentsSelect All checkbox
At the top left there is a select/deselect All checkbox. This checkbox will select or deselect all of the items in the bin. This could be used to move or copy all of the items from one bin to another.
Column FiltersAt the top of each column there are filters ot narrow the items that will be displayed. Once the proper search criteria has been entered the user will select the
Search button. The user can cancel the search by selecting the
Cancel button.
Items
This is where the actual items are displayed with their datails.
Sort
There is a hard and soft sort available on this screen.
=Soft Sort
Soft sort is a temporary sort that a user can specify by selecting the column labels to sort them ascending or descending. This sort will stay until the screen is refreshed or the user leaves the screen.
Hard Sort
Hard sort refers to the specific item sort order in the bin. This sort order is permenant. It is displayed in the Sort
column. The user can change the sort by changing the number for each item. Once the changes are saved the items will resort in the correct order. This is used to force items to be in the order they are in the bin or shelf. It is used to make counts of the customer inventory faster.
Print Button
The Print
button is found in section 6. This button will printout the customers inventory that is displayed in the item grid.
In order to print all of the customer's inventory select the root bin (\), then select the show children
checkbox. This will display all of the customers active invnetory. If there is a need to display the inactive items aswell, select the Inactive
checkbox. Next select the Print
button.
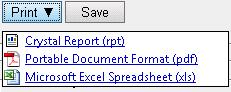
There are three print formats that can be selected. They are displayed when the user selects the Print
button.
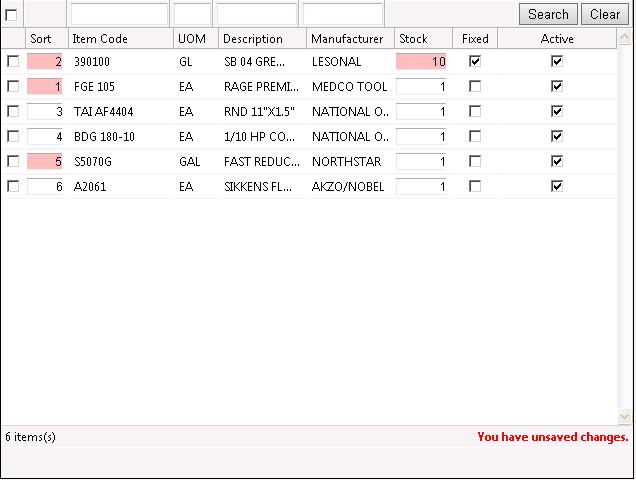
Save Button
This is used to save any changes that were made to the items in the item grid. All of the unsaved changes will be highlighted in pink.
Inventory Actions
Inventory actions are the focus of section 7.
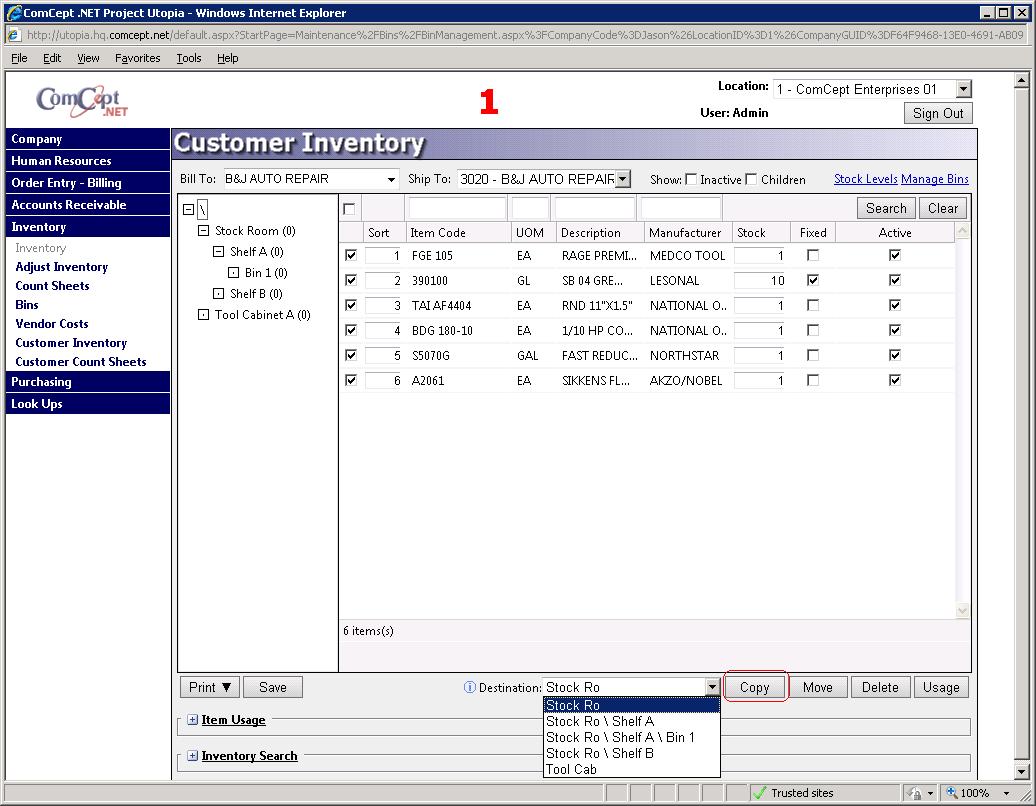
Copy items
This process will copy an item from one bin to another one. This will not remove the original item.
- Select the item or items that need ot be copied ot another bin by selecting the checkbox next to each or or selecting the select all checkbox.
- Select the destination bin from the
Destination
dropdown.Select the Copy
button.
The destination bin will autopopulate with the selected items.
The example below copies the 6 items from the Root bin to the Stock Room bin.
After the Copy
button is selected.
Please note that the Stock Room bin is being displayed. In the previous screenshot the Stock Room had a 0 next to it, which indicates no items are in the bin. This screenshot it has a 6.
Move items
This process is identical to the copy process except for one detail. The move process will remove the items from the source bin and move them to the destination bin.
Delete items
This process will remove the selected items from the bin.
- Select the items that need to be removed by selecting the checkbox next to the items.
- Select the
Delete
button.Select OK
on the message to complete the deletion. The Cancel
button will stop the deletion.
Item Usage
This process will display the usage of a single
item.
- Select the item's checkbox.
- Select the
Usage button. The usage section (section 8) will expand.
Add Items
Talk about the search options and step through the addign process.
Talk about how to see usage and how it can only be seen on one item at a time
Customer Bins
Add a Customer Bin
Edit a Customer Bin
Discuss all of the edit options please
Delete a Customer Bin