Page History: Categories Help Documentation
Compare Page Revisions
Page Revision: 10/03/2011 02:18 PM
Categories
This task allows for the setup of product groups and product lines that enables pricing and item grouping for various reports. (Assignable to the master inventory records)
Product Group
Product Groups are designed to group items together for reporting purposes. If your data was converted from ComNet Version 6.2, then the inventory group codes (A – Z) from the item master file have been converted to category codes.
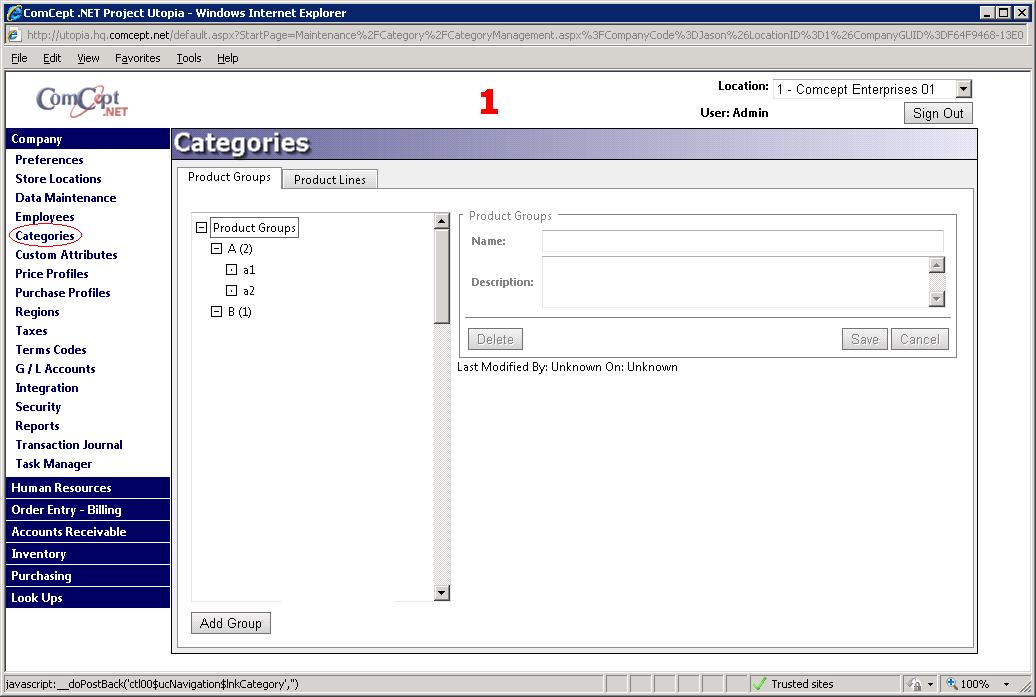
Add a New Product Group
Follow the steps below to add a new product group:
- Optional Select which existing Product Group will be the parent of the new product group. If no parant is selected the root product group will become the parent.
- Select the Add Group button.
- Type the name of the new product group into the Name field.
- Optional Type a description into the Description field.
- Select the Save button.

Deleting a Product Group
All of the product groups can be deleted, but there are some exceptions.
below are the exceptions that prevent deletion:
- The product group has a child
- Items are assigned to the product group

Editing an Existing Product Group
All product groups can be edited. The product group name and description are editable. In order to edit a product group, follow the steps below:
- Select the desired product group by clicking on its name in the Product group tree.
- edit the Name and/or description in the edit pane.
- Select the Save button. If you dont want to save the changes, select the Cancel button.

Product Line
The Product Line radial enables the setup of product manufacturers and sub categories within a manufacturers’ product line. This is assignable to the master inventory record and is used for various reporting breakdowns and pricing as discussed in the Master Inventory Help Documentation.
Select the expand icon,
+, next to each Manufacturer to display all of their product lines. Reselecting the expand icon, now it is a
-, will hide all of the manfacturer's product lines.

Show Manufacturers without product lines
By default only manufacturers that currently have product lines are displayed in the Product Line tree. By selecting the
Show Manufacturers w/no Product Lines checkbox, all manufacturers will be displayed. This option allows the user to add product lines to a manfacturer that currently doesn't have any.

Add a New Product Line
In order to add a new product line, follow the instructions below:
- Select the desired manufacturer by selecting their name in the product line tree. If the manufacturer is not present select the Show Manufacturers w/ no Product Lines checkbox and search again. If the new product line is a sub product line, select the parent product line instead of the manufacturer.
- Select the Add Product Line button.
- Enter the product line name and description. The description is optional.
- Select the Save button.

Delete a Product Line
Any product line can be deleted, unless they are used by a product or are a parent to another product line. Select the product line that needs to be deleted by selecting it in the Product Line tree. Once all of the details for that product line appear in the edit section of the screen, select the
Delete button. Select
OK on the Delete message to confirm deletion.

Editing an Existing Product Line
The product line's name and description are editable. Follow the steps below to edit a product line:
- Select the desired product group by clicking on its name in the Product group tree.
- edit the Name and/or description in the edit pane.
- Select the Save button. If you dont want to save the changes, select the Cancel button.
